This post will show you how to Migrate RDS 2012 to Server 2012 R2 using the in place upgrade method.
This post will show you how to Migrate RDS 2012 to Server 2012 R2 using the in place upgrade method.
In this demonstration I will be migrating a Server 2012 RDS server over to 2012 R2. The following roles have been installed on a Server 2012 RTM server:
- RD Connection Broker
- RD Web Access
- RD Session Host
Before migrating your RDS Infrastructure to Server 2012 R2 it is suggested that you read the following article from Microsoft.
http://technet.microsoft.com/library/dn479239.aspx
The key points to note:
You will need to migrate the RDS roles in the following order:
- RD Connection Broker
- RD Session Host
- RD Virtualization Host
- RD Web Access
As stated in the document, the following roles can be updated at any time:
- RD Licensing
- RD Gateway
I would recommend that all of the RDS environment's services are stopped before starting the migration process.
Migrating RDS 2012 Over to 2012 R2
Before carrying out a migration, ensure you have a backup (goes with saying).
check that the RDS services are stopped on the server before continuing.
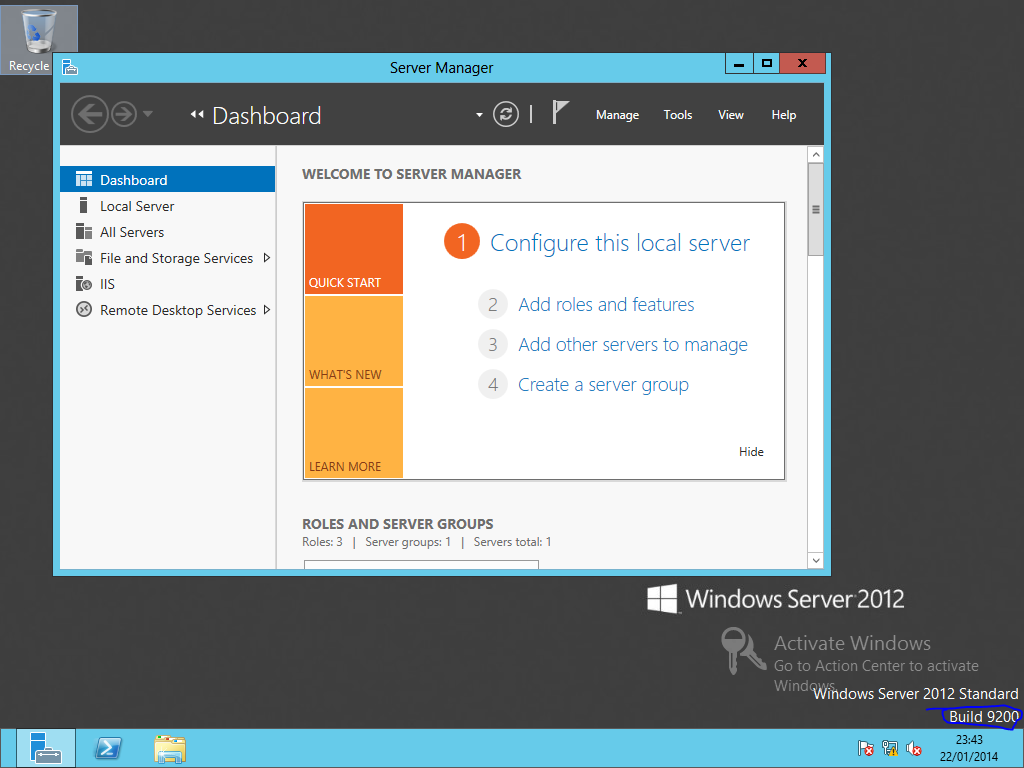
As you can see from the screenshot, We are running Server 2012 standard edition RTM
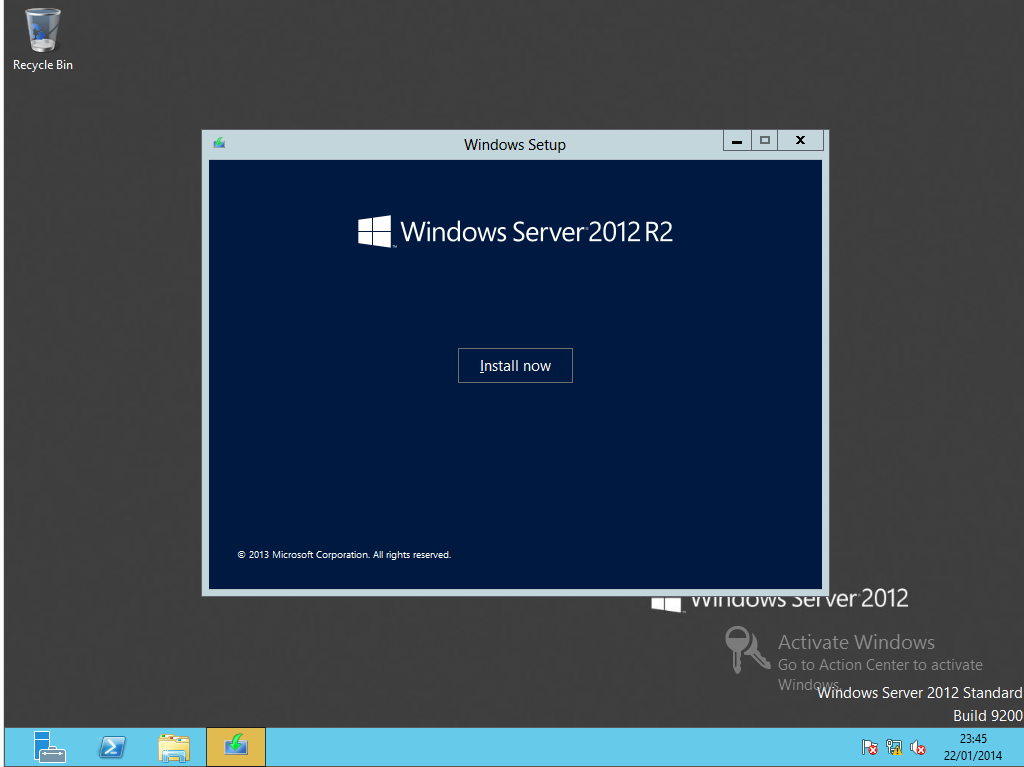
Mount the ISO or insert a Server 2012 R2 DVD, then Click Install now
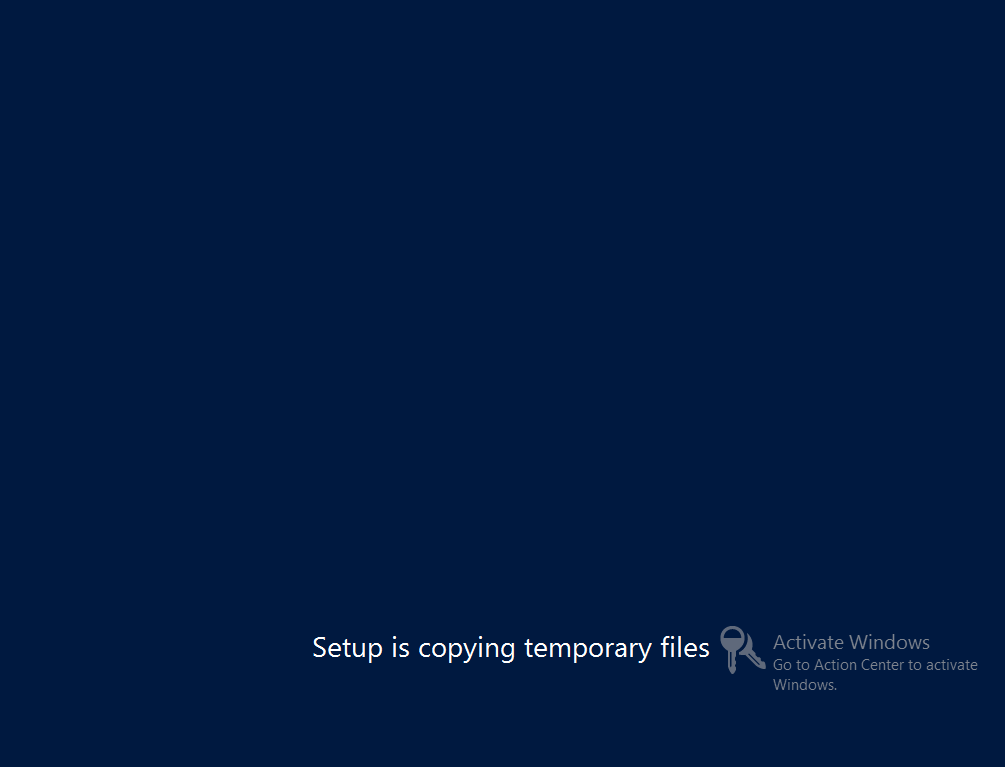
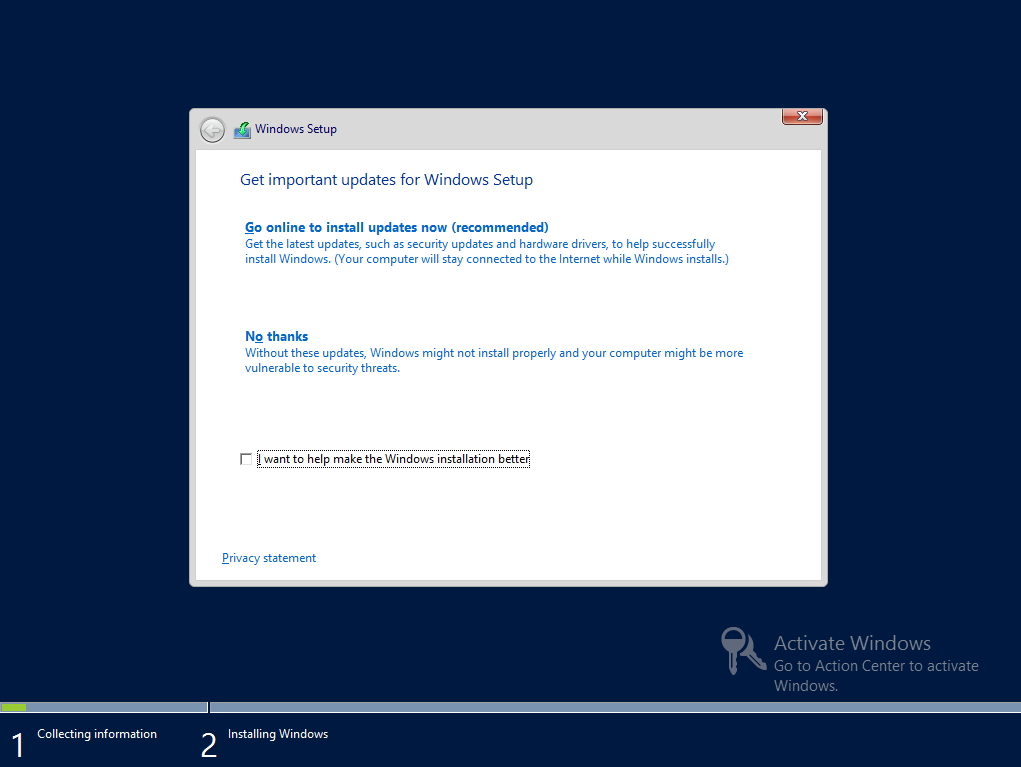
Choose whether you want to apply updates or skip to the installation.
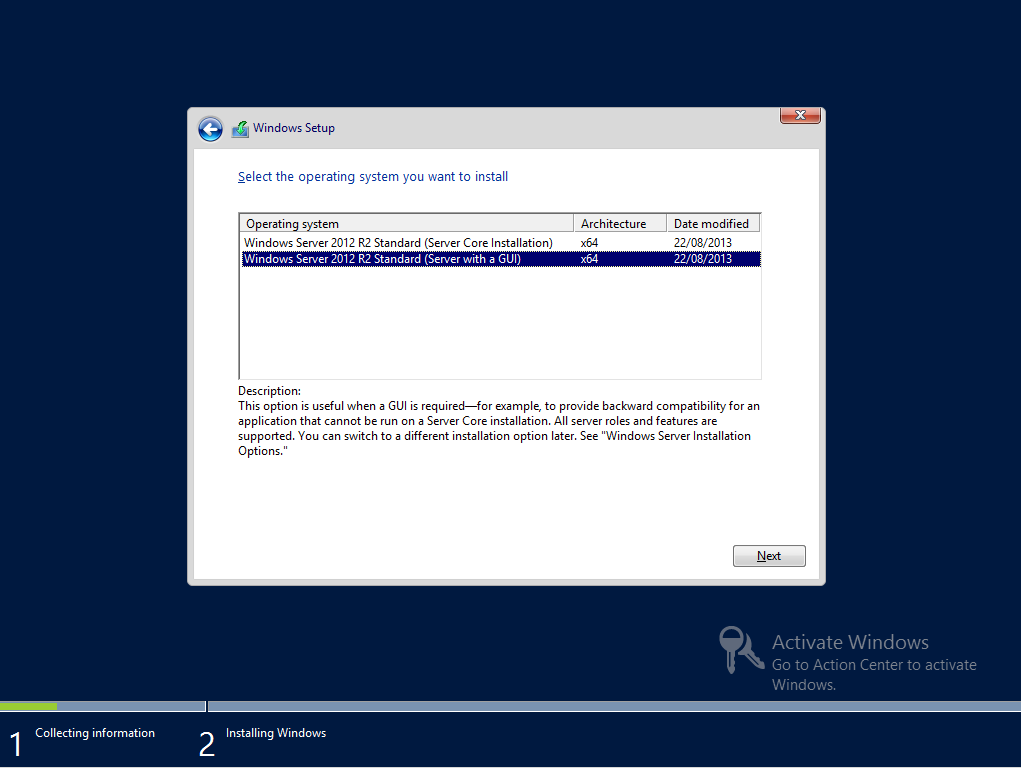
Select the (Server with a GUI) and click next
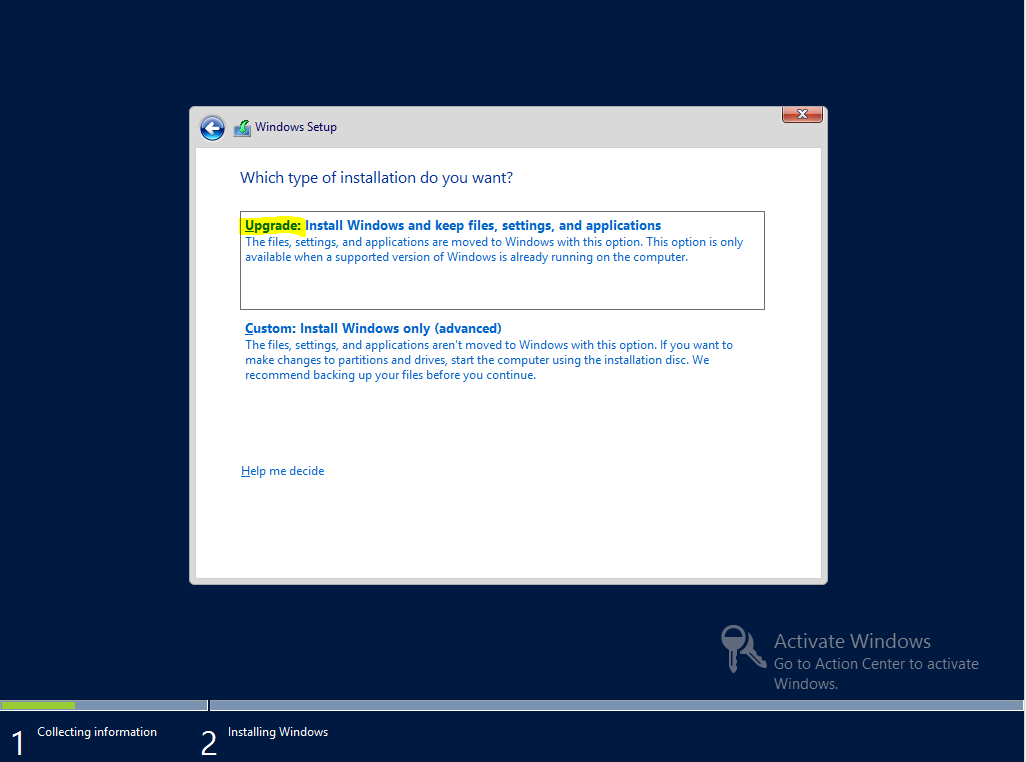
We are not wanting to install a fresh copy of Windows Server, We want to carry out an in place upgrade.
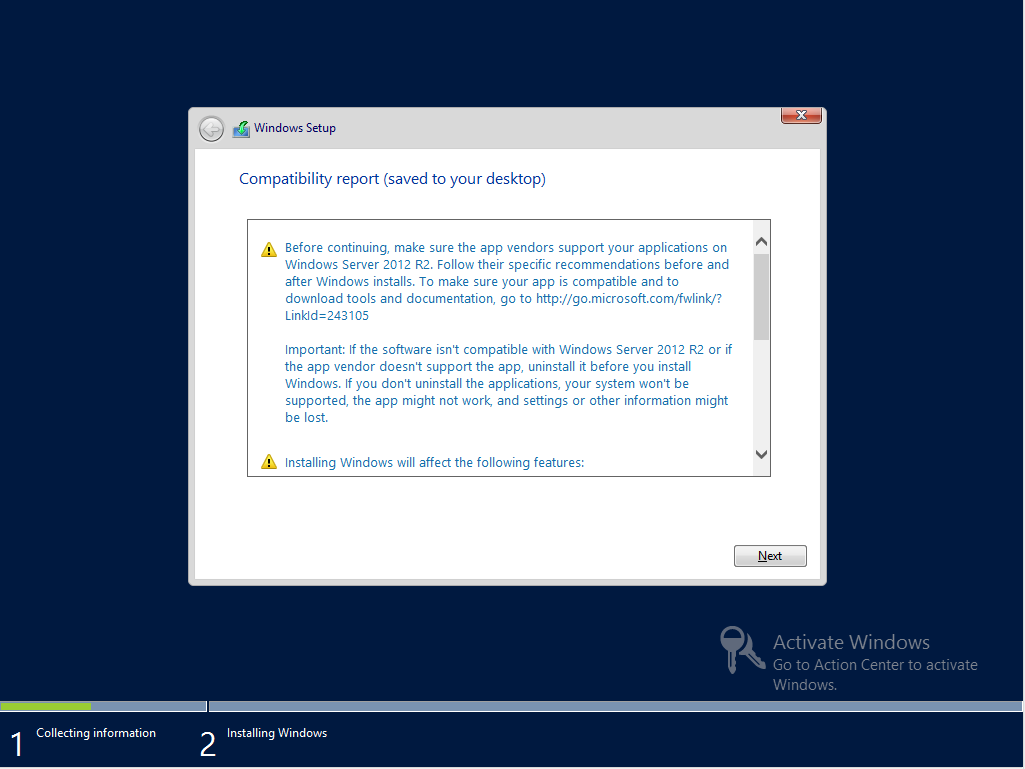
Check the compatibility report and click next (all being well)
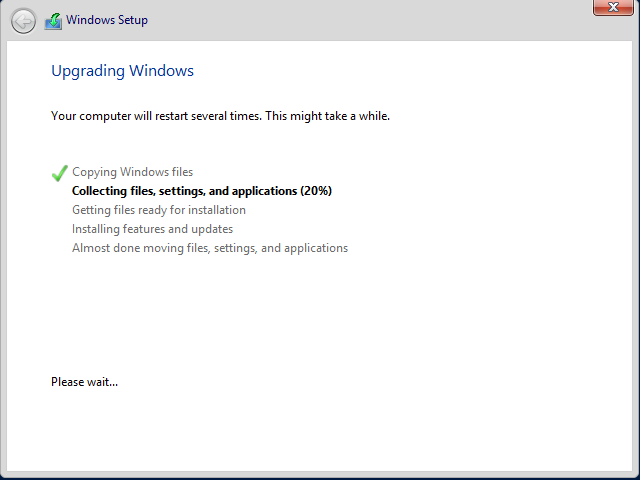
The in place upgrade will require a number of restarts during the upgrade process.
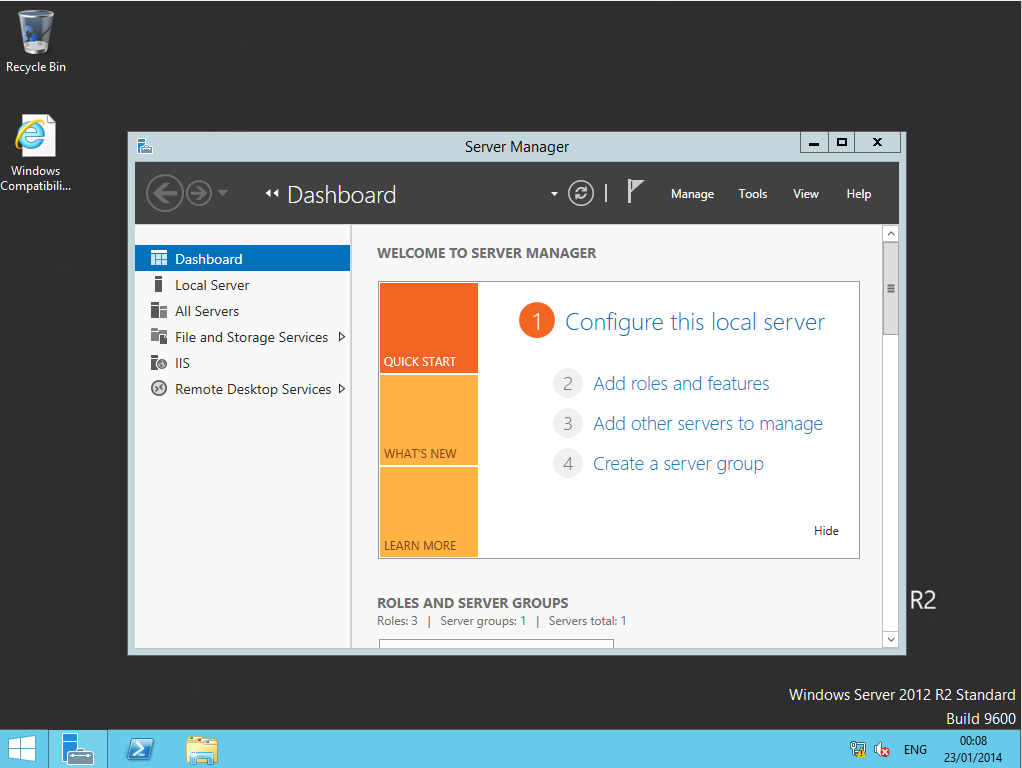
Once the migration is complete, you will see the new build number and version located near the right hand corner of the screen .
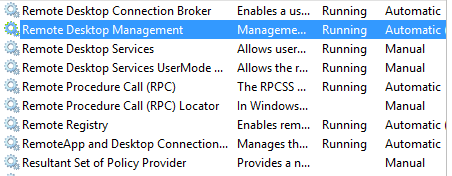
Check that the Remote Desktop Services have started and Test RDS connectivity.
I would also suggest checking the event logs for any errors that may have occured.
Post Migration Clean up
After the migration (inplace upgrade), you will have a Windows.old folder from the old version of Windows. The next part of this post will show you how to complete a post migration clean up on your RDS Servers.
Before we can clean up the disk, we need to add the Desktop Experience feature so that we gain access to the Disk cleanup utility.
GUI way
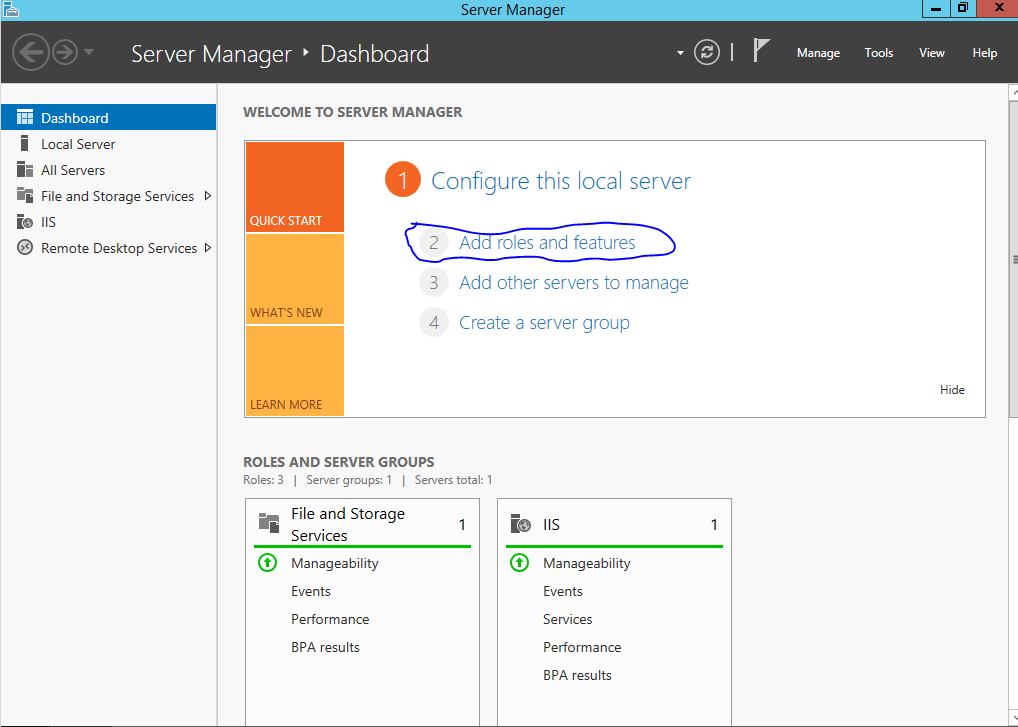
Select roles and features
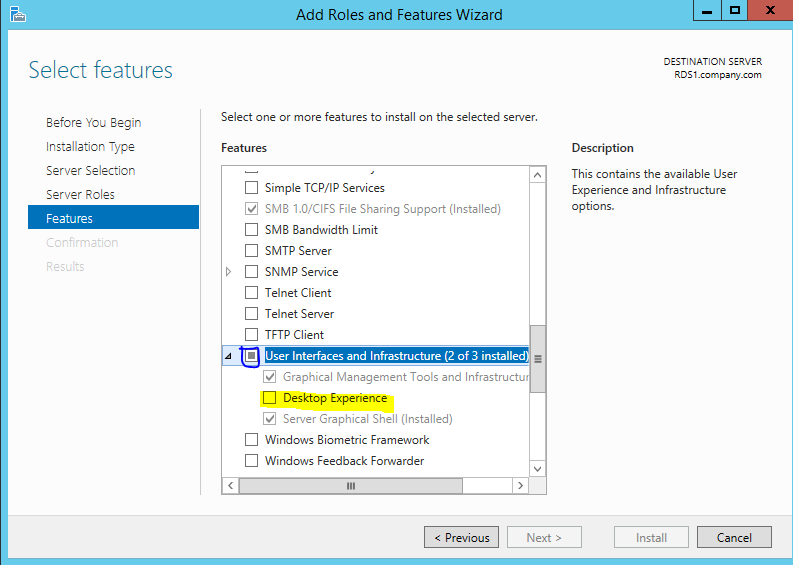
Select User Interfaces and Infrastructure: Desktop Experience
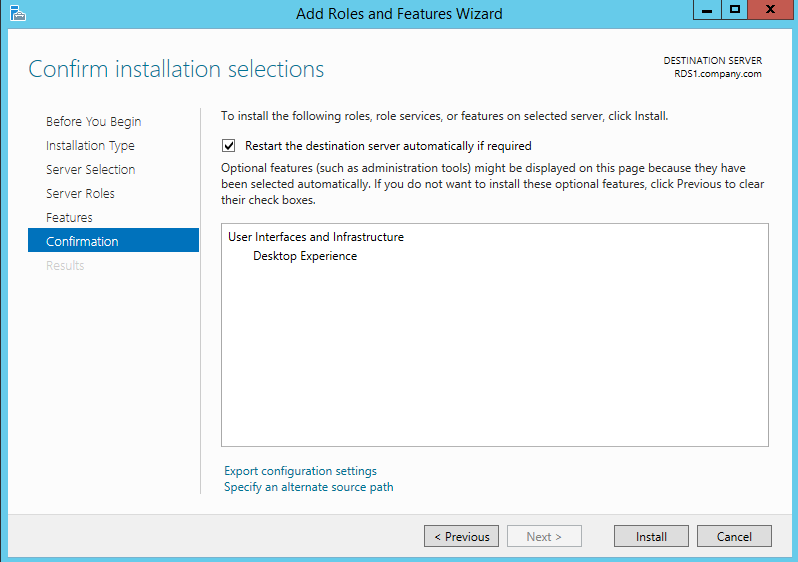
PowerShell Way
Install-WindowsFeature Desktop-Experience


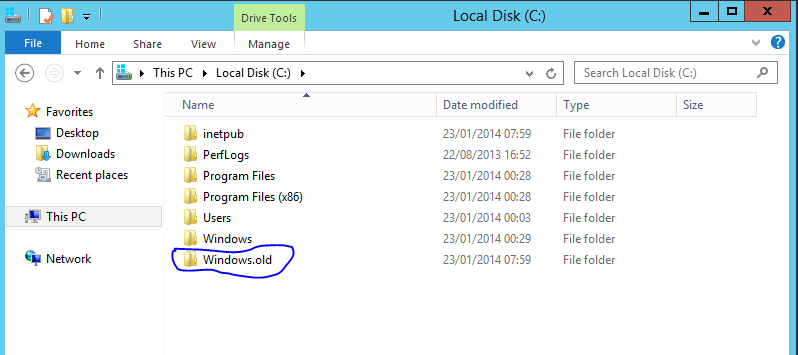
As you can see from the folder directory on the root disk drive C: , there is a Windows.old folder from the previous version of Windows.
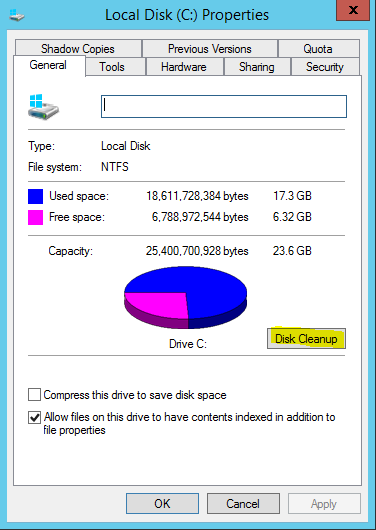
by right clicking on the C: and select properties. You will then see Disk cleanup under the general tab.
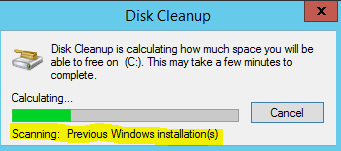
When you open disk cleanup, as like previous versions it will scan your Os disk for various files including "Previous Windows Installation(s)"
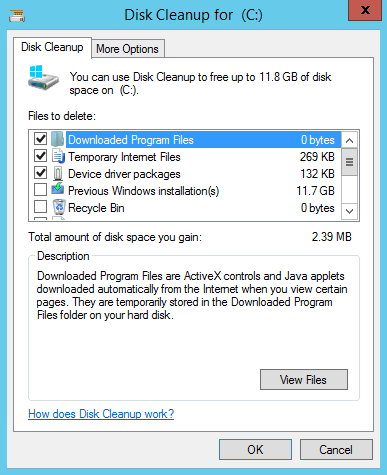
You can then see various files that can be deleted.
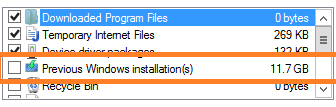
Select the "Previous Windows Installation(s)
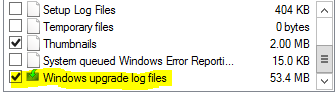
Select the "Windows upgrade log files"
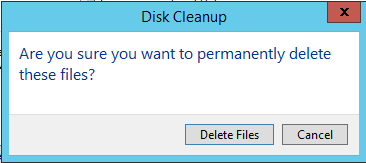
Once your happy, click Ok and Delete Files.
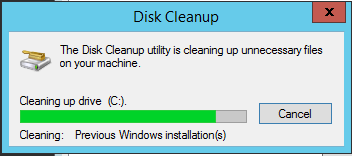
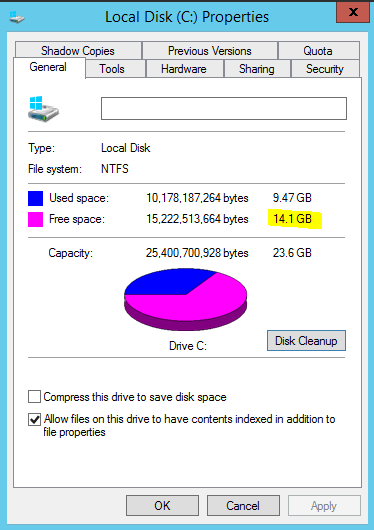
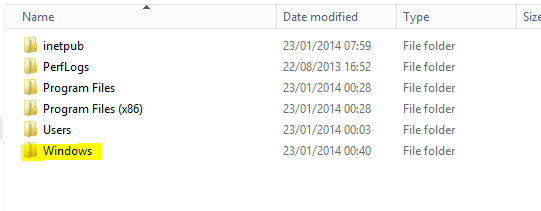
There you have it, the Windows.old folder has now been removed.
Using DISM to clean Previous versions of updated components
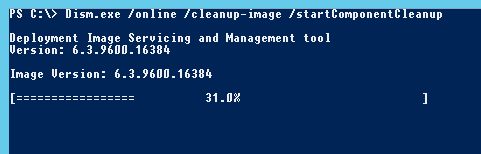
The final Step is to use DISM to Clean up old components.
for more information on DISM Clean up, please see the following article:
http://technet.microsoft.com/en-us/library/dn251565.aspx
Run the following Command in cmd or PowerShell:
Dism.exe /online /Cleanup-Image /StartComponentCleanup
If you do not requre Desktop Experience, you can remove the feature with the following cmd in PowerShell.
Uninstall-WindowsFeature Desktop-Experience
There you have it, RDS 2012 Migrated over to 2012 R2 and cleaned up after an inplace upgrade.