High level on enabling MFA for Windows 365 with Conditional Access.

Introduction
This is a quick article to show you how to configure MFA with a Conditional Access policy for Windows365.
Please note that I am using Windows 365 Business and a developer licence from Microsoft.
https://developer.microsoft.com/en-us/microsoft-365/dev-program
One important update before we start. The 2021 habit of enabling per-user MFA first and then building Conditional Access on top is no longer the route I recommend. For Windows 365, the cleaner and current approach is to use Conditional Access as the primary enforcement method and keep legacy per-user MFA out of the design unless you have a very specific exception case.
Steps:
These high level steps will guide you through the process of setting up MFA and creating a conditional access policy for Windows 365.
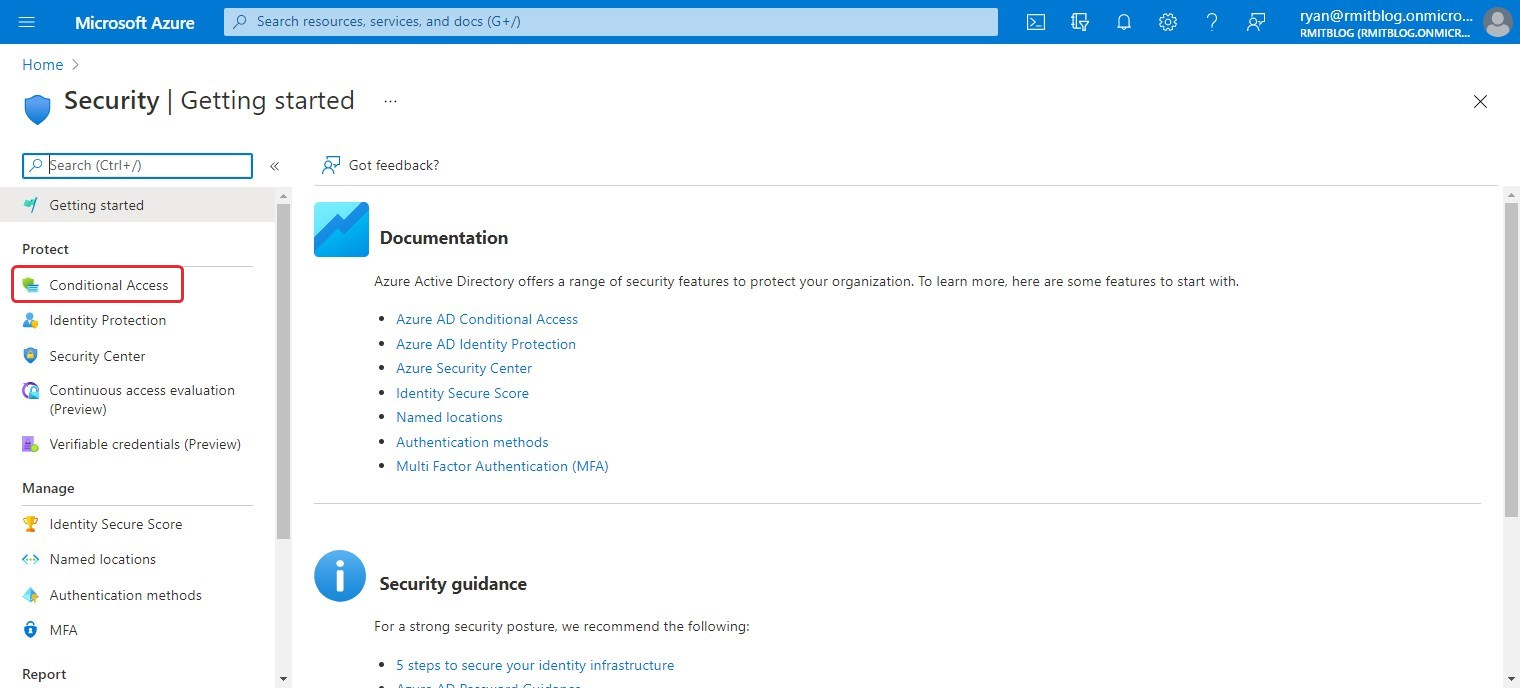
- Sign in to the Microsoft Intune admin center or the Microsoft Entra admin center and navigate to Conditional Access. This is the current control plane you should use for Windows 365 MFA.
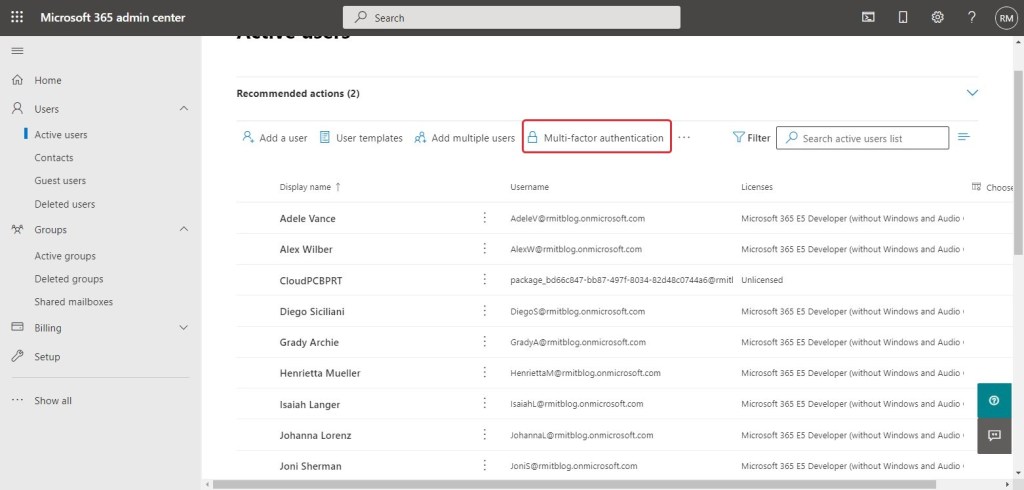
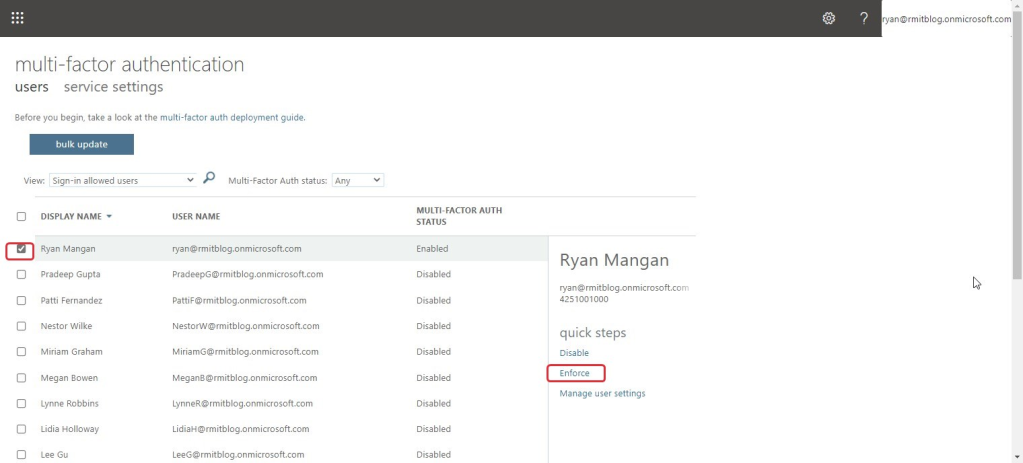
2. If your tenant still uses Security Defaults, decide whether you are staying with that simple baseline or moving to a Conditional Access design. Do not mix Security Defaults, legacy per-user MFA, and a new Windows 365 Conditional Access policy without understanding the overlap.
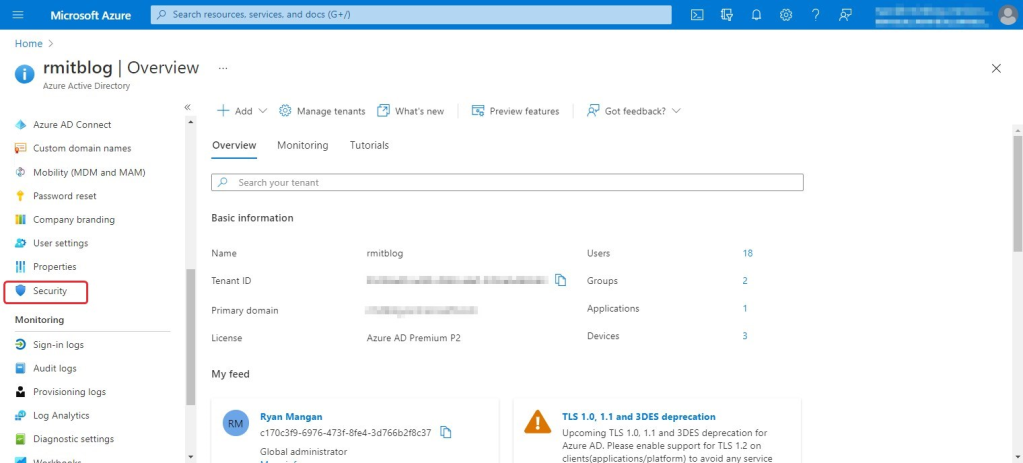
3. Once complete, go to Portal.Azure.com. Navigate to Microsoft Entra ID using the icon or search bar.
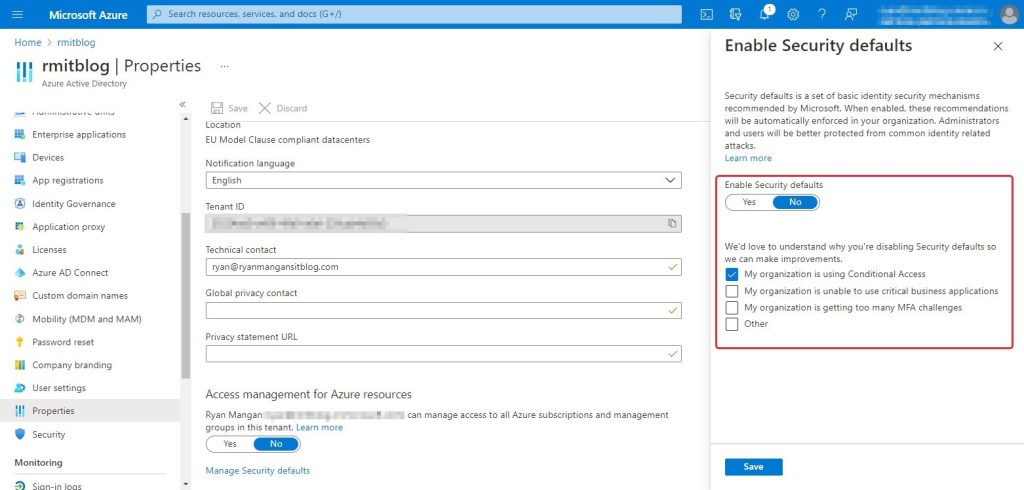
4. If you are moving from Security Defaults to Conditional Access, review that change first. The point is not to disable protections. The point is to replace a broad tenant-wide default with a policy set you control deliberately.
Azure Active Directory properties
 +
+
5. We now select the Security button located on the left menu.
6. Select Conditional Access within the left-hand menu.
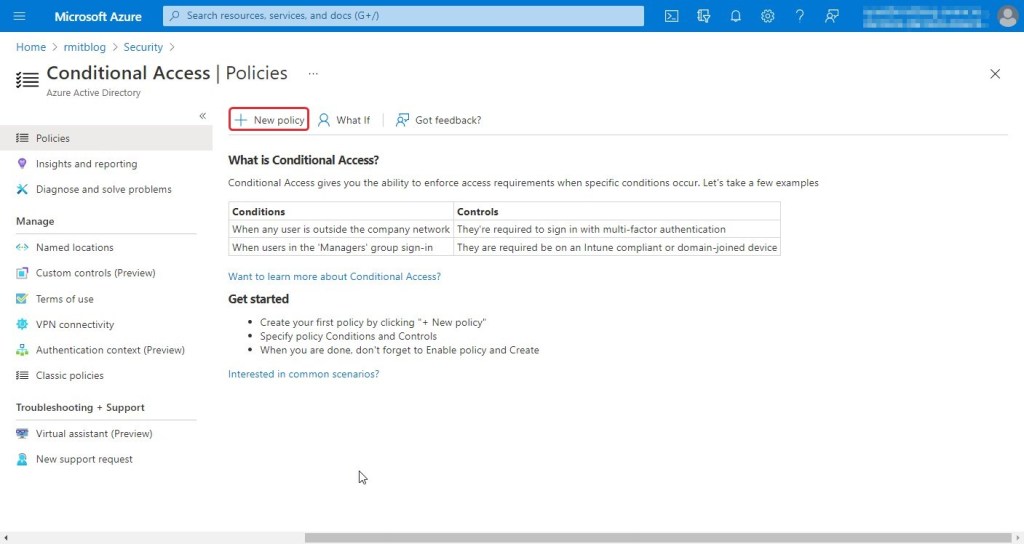
7. You will now see the Conditional Access page.
8. Click Create New Policy.
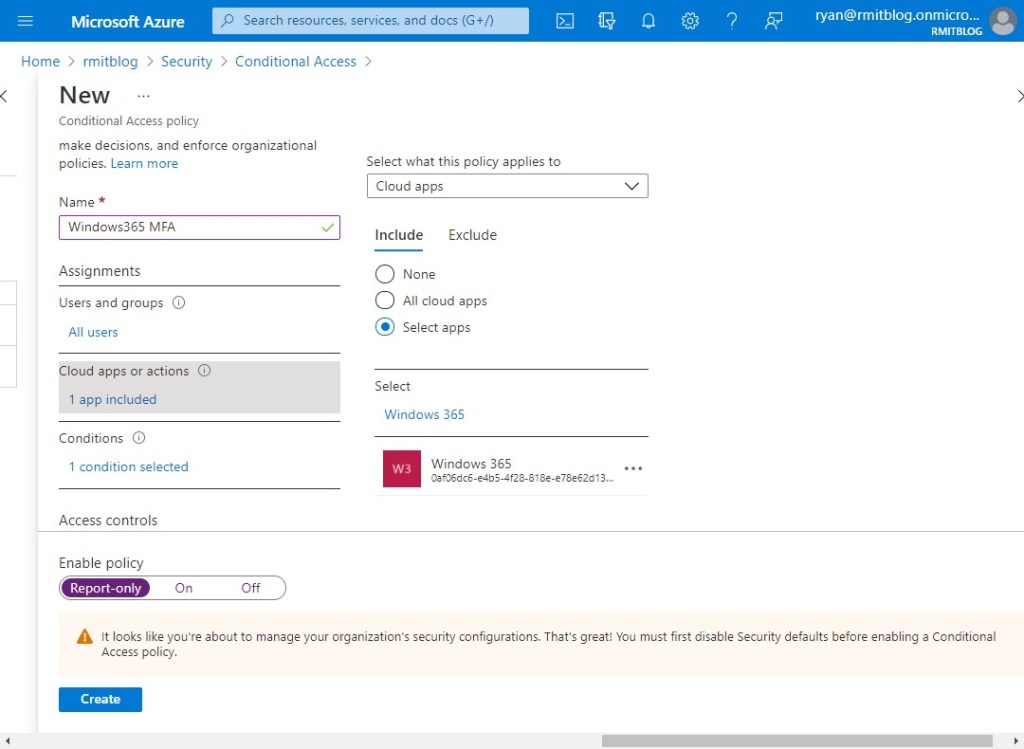
9. Enter a name for the Conditional Access Policy and set assignments for the users or groups in scope. I strongly recommend excluding your emergency or break-glass accounts rather than blindly targeting every administrative identity.
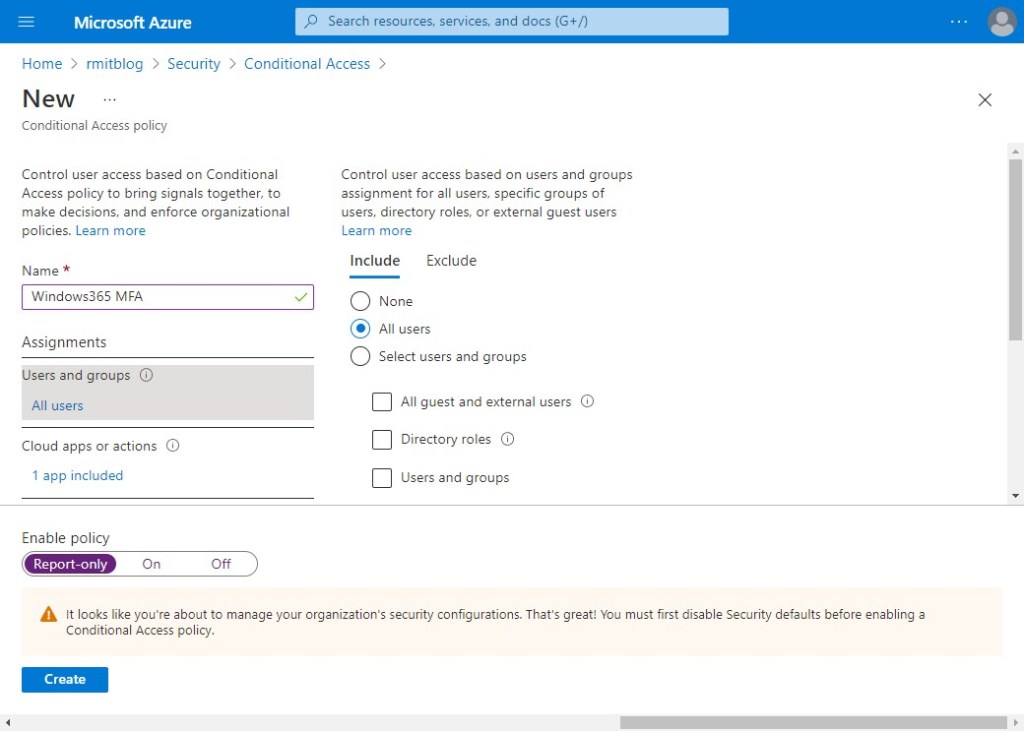
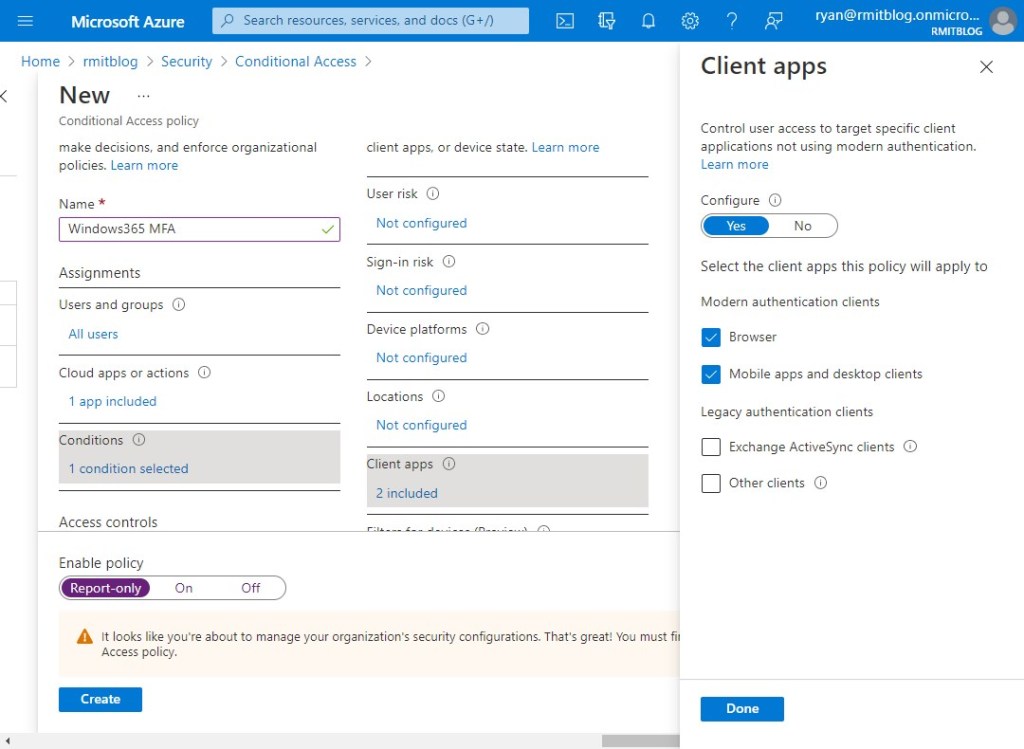
10. Under Target resources, select the cloud apps used by the Windows 365 sign-in flow. At a minimum that means Windows 365. In most environments I also match the policy across Azure Virtual Desktop and, if single sign-on is enabled for the Cloud PC, Windows Cloud Login.
11. Now we need to set the conditions of the policy. Keep this simple unless you have a strong reason to split by device platform, location, or sign-in risk.
12. If you are using client app conditions, make sure the policy covers the access paths your users actually use. For Cloud PCs that usually means the browser portal and the desktop client path, but the more important control is the app targeting in the previous step.
13. We now set the grant access configuration and tick Require multi-factor authentication under Grant access.
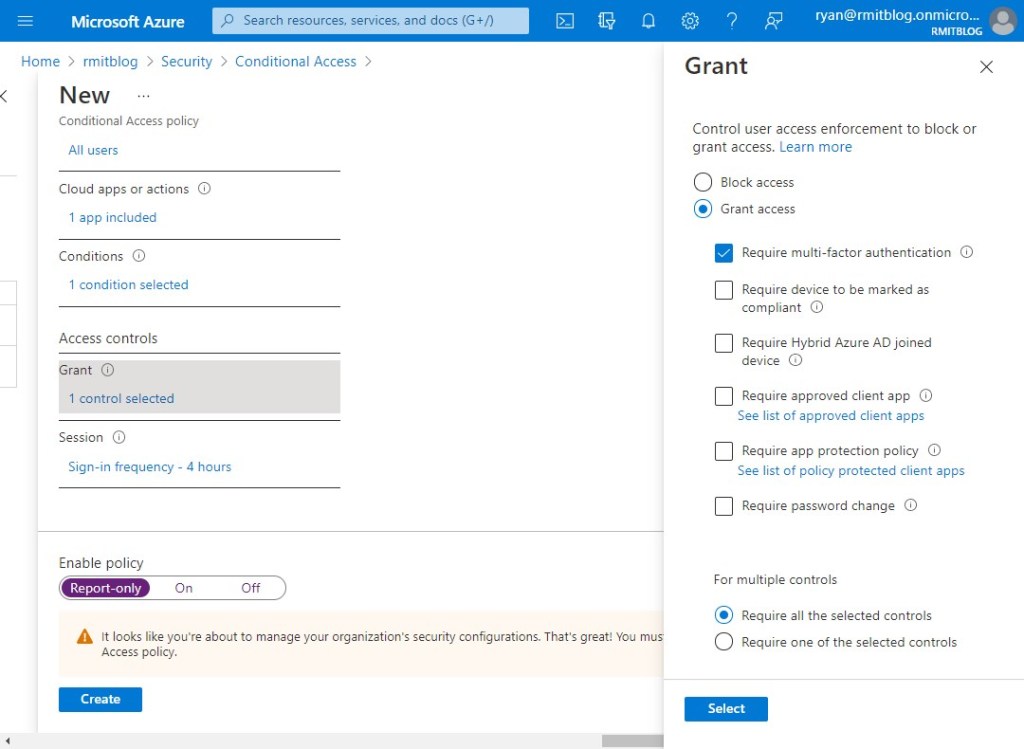
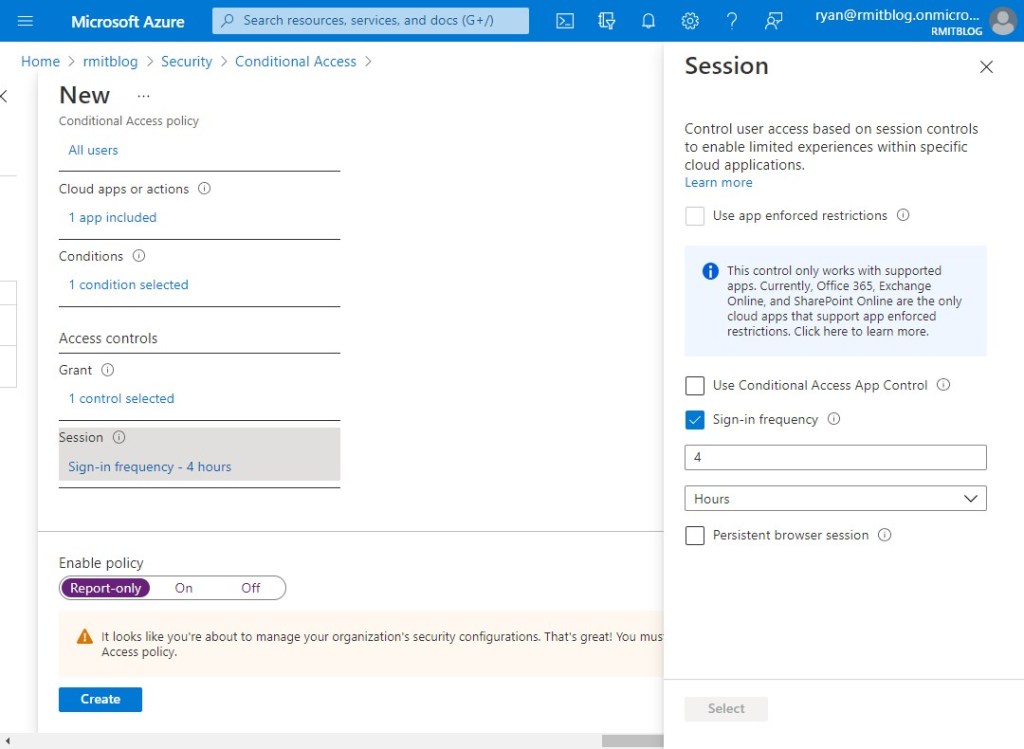
14. The last section we will configure is Session, to set the controls on user access based sign-in frequency. In this example I set 4 hours; however, you can choose whatever you or your organisation decide. Microsoft now documents how the reauthentication behaviour differs between Windows 365, Azure Virtual Desktop, and Windows Cloud Login, so use that when tuning the experience.
15. I recommend setting the policy to Report-only first, validating the effect, and only then moving it to On.
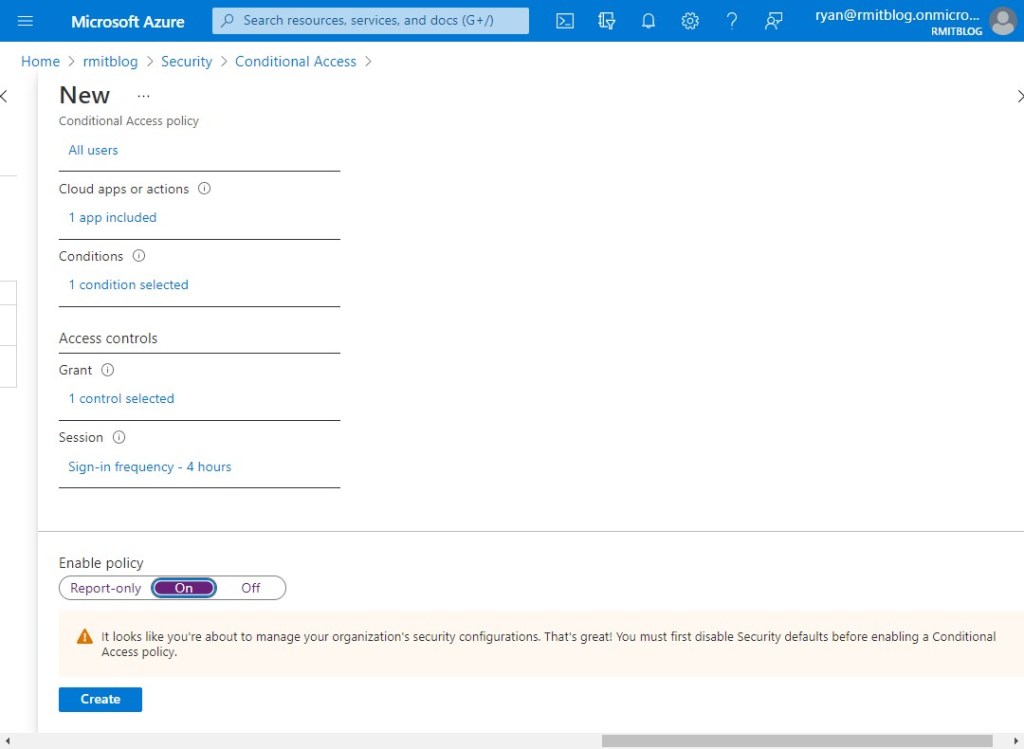
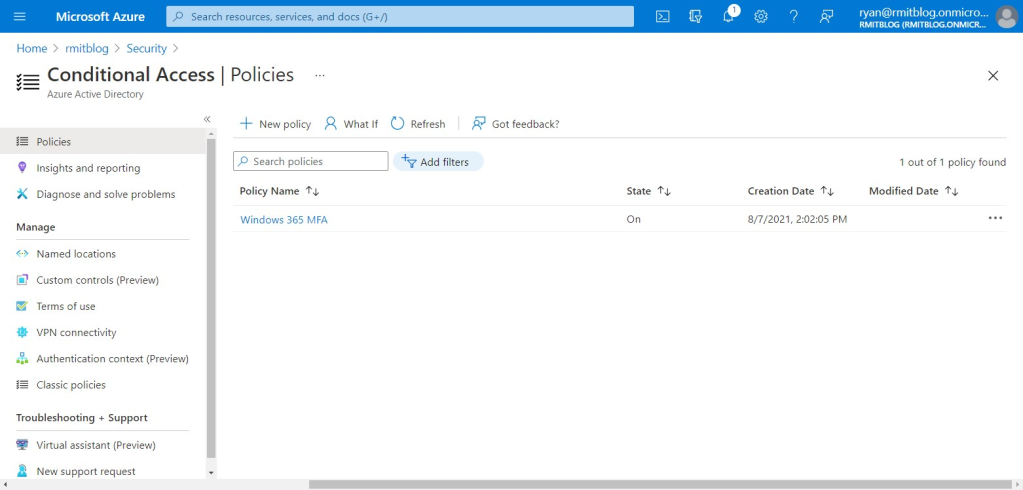
16. Once you have clicked Create, you will see the newly created policy in the policies section as shown in the screenshot below.
Summary
This provides a high level guide to setting up multifactor authentication and Conditional Access for Windows 365. The main change from the original 2021 version is simple: use Conditional Access as the primary control, scope it carefully, and include the Windows 365 sign-in apps that are actually part of the Cloud PC connection flow.
Any questions, feel free to drop me a line or comment.