Archive walkthrough of the original Azure Virtual Desktop Getting Started wizard, with notes on the current Quickstart and deployment path.
Introduction
In this article we will take a look at deploying a Azure Virtual Desktop environment using the Quick start feature "AVD QuickStart".
I will be deploying to an Existing Active Directory in this example. You will need to ensure, that your network and Active Directory Domain Services (ADDS) is configured before starting.
One important note before you follow the screenshots too literally: this post captures the 2021 Getting Started wizard preview experience. It is still useful archive material because it shows how Microsoft first tried to simplify AVD onboarding, but it is not the current production deployment path.
Here is a breakdown of the requirements and benefits of using AVD QuickStart.
Requirements:
- Active Azure subscription
- Azure AD tenant
- An account with the required Azure RBAC permissions to create AVD resources
- If you are joining session hosts to an existing Active Directory domain, a domain join account with the correct delegated rights
- A supported identity and network design for the deployment model you choose
- If you are using a hybrid model, directory sync and line-of-sight to the required domain services
Benefits:
- Removes the complex multi-step process like FSLogix profiles setup, Azure Files Storage account creation, domain join, etc.
- Create session hosts and configure AVD (host pool, workspaces, desktop groups, validation user)
- Validate user input
- Validate environment (DNS, firewall/NSG configuration requirements for AVD, permission on Azure AD and subscriptions)
We now look at the steps involved with deploying Azure Virtual Desktop using the AVD Getting Started Wizard.
Getting started
Located in the left hand menu, you will see "Getting started" underneath "Overview". Click the Getting started menu button and once on the Azure Virtual Desktop Getting started page, click Start.
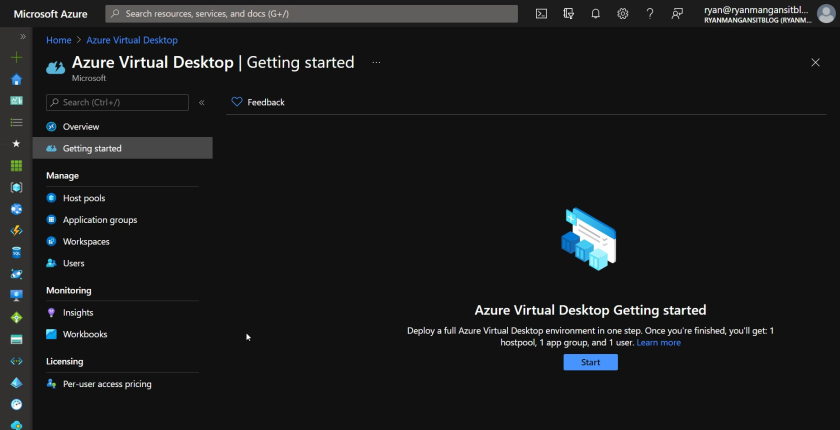 Getting started page in Azure Virtual desktop panel
You will now see the "Getting started wizard" appear.
At the time, this wizard tried to automate the first host pool, workspace, desktop group, profile storage, and validation steps in one pass.
Basic Tab:
- Select Existing active directory as your identity provider
- Enter a Resource Group name
- Select the Location (Azure Region) you want to deploy into.
- Enter your Azure User Credentials
- Enter your Domain Admin Credentials
- Select Active Directory for the Identity Service type.
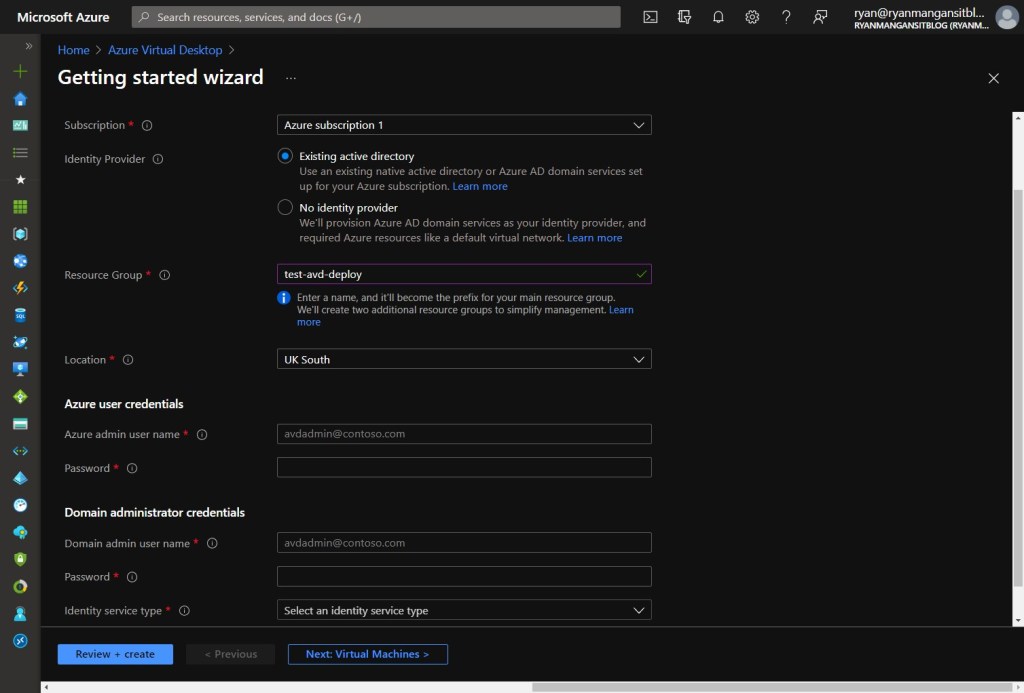
Basic Tab of AVD Getting started Wizard
Once you have entered the details required, click Next Virtual Machines >
You will now see that the tab has moved from basic over to Virtual Machines tab.
AVD Getting Started Wizard Virtual Machines Tab
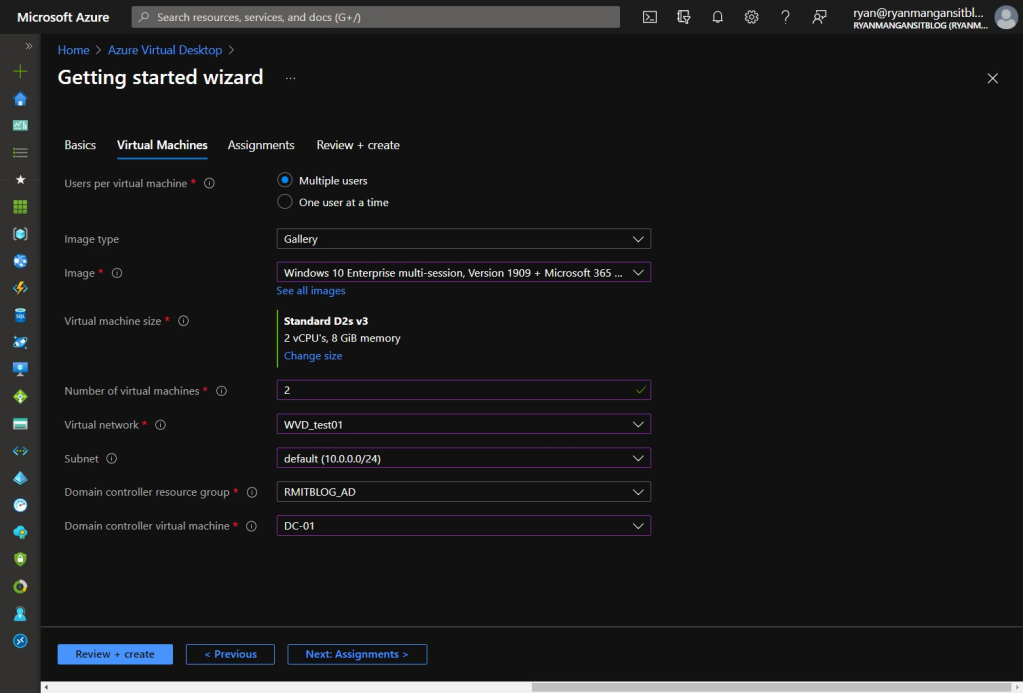
Within the Virtual Machines tab you will configure the Session host requirements.
Virtual Machine Tab
- Select Multiple users for "Users per Virtual Machine"
- Select your image type, Gallery in this example
- Select an image
- Select a Virtual Machine Size
- Enter the Number of Virtual Machines you want to deploy
- Select the Virtual Network
- Select the Subnet, same as the DC usually.
- Select the DC resource group
- Select the DC Virtual Machine
Once Complete click the Next: Assignments > button
Assignments Tab
You will now be presented with the following screen. You can create a test user account or skip.
You also have the option to assign existing users or groups. Again you can select or skip.
Once finished on this tab, click Review + create
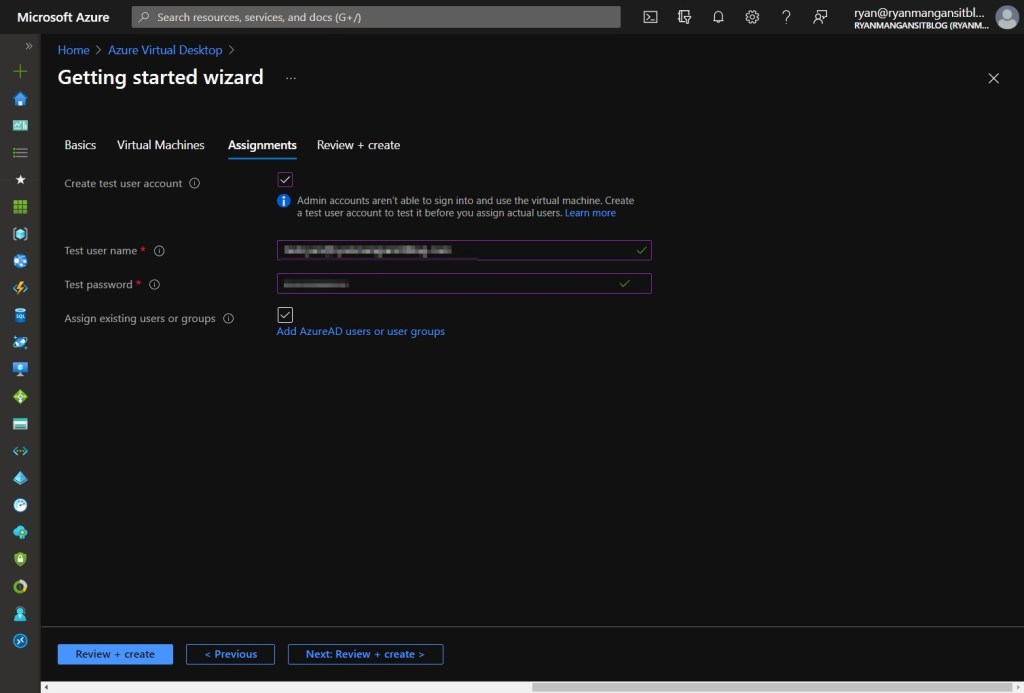
AVD Getting Started Wizard - Assignments Tab
Review + Create Tab
You will now be presented with the Review + create page which is used to validate the configurations you have entered. Once you are happy with the configuration and the statement "Validation passed" is shown in a green bar, you can proceed with creating the AVD environment.
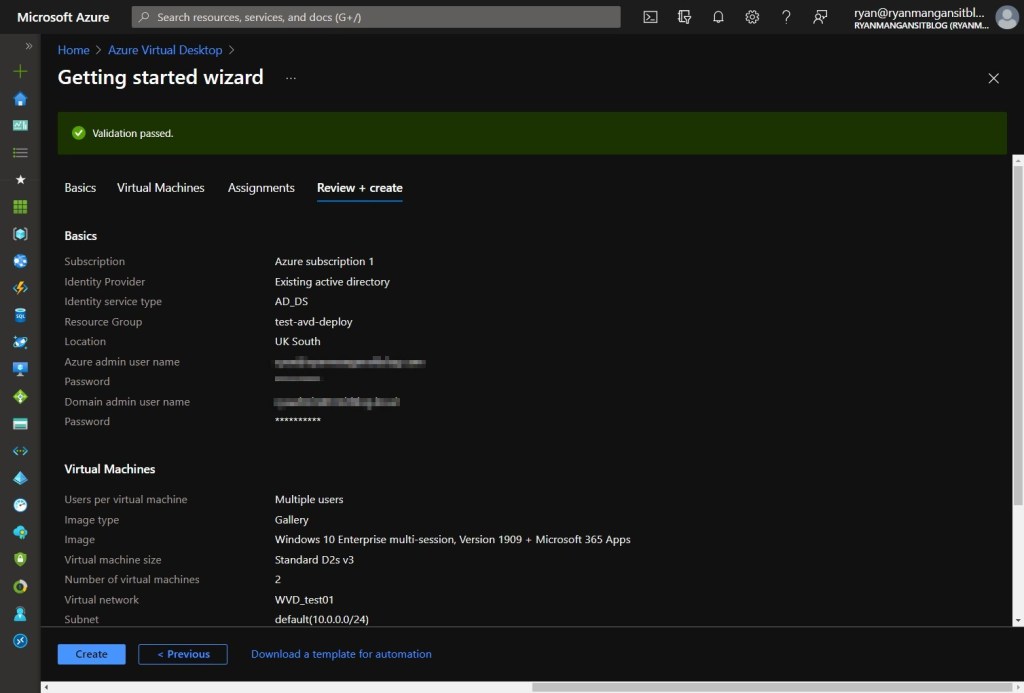
AVD Getting Started Wizard - Review + Create Tab
Once the deployment has completed, you will be notified within the deployment screen as shown in the screenshot below.
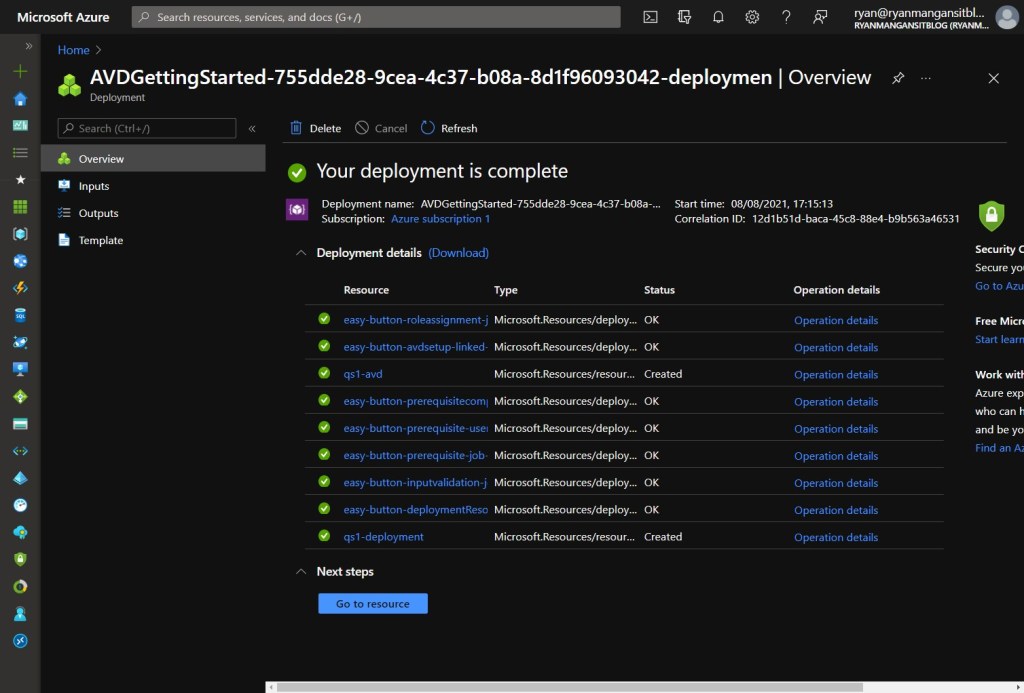
AVD Getting Started Deployment screen - Showing Deployment Complete.
As shown in the screenshot below, you can see that the Quick start has deployed my Azure Virtual Desktop environment, making life very simple!
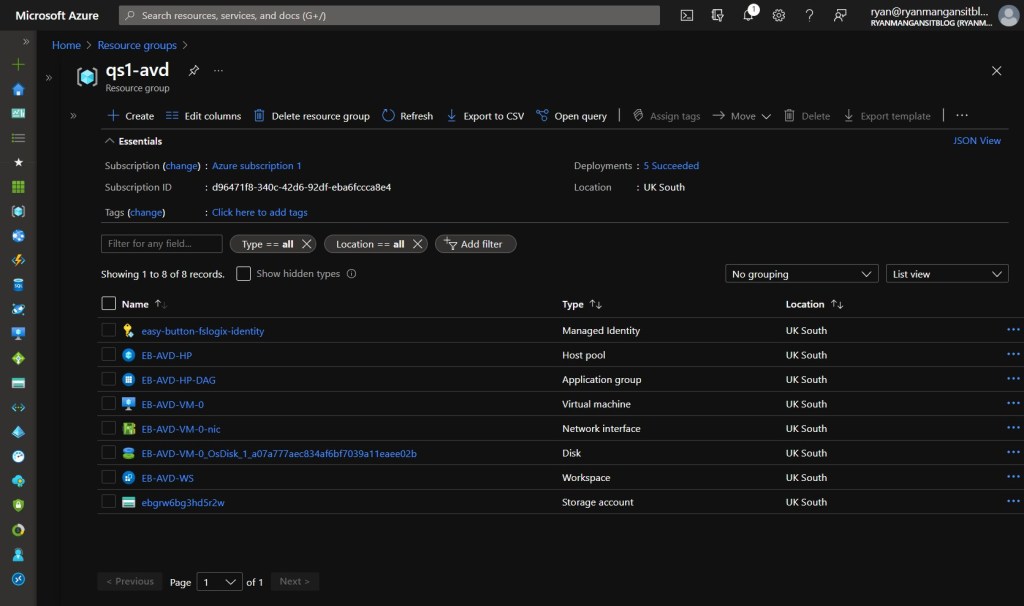
AVD Getting Started Wizard Deployment aftermath - Resources in the Resource group.
Current path
If you are deploying Azure Virtual Desktop today, I would split the guidance like this:
- Use Quickstart if you want a fast sample deployment to prove the service and get a desktop running quickly.
- Use the standard Deploy Azure Virtual Desktop workflow if you are building a production environment and need control over host pool type, image, identity, networking, RBAC, diagnostics, and application groups.
That is the main reason I have kept this post but updated the framing. The screenshots are still useful history. The actual deployment route has changed.
Summary
This article showed you how the original Getting Started wizard worked and where it sat in the early Azure Virtual Desktop journey. If you are building new today, use the current Quickstart for a lab or the standard deployment guidance for production.
You can also read more here: