Basic RDS 2012 deployment

This post shows you how to deploy RDS using the standard deployment option in Add Roles and Features Wizard.
You can add multiple servers to the configuration but for this demonstration I will be using a single server.
This shows how to install a Session Based deployment which allows users to connect to session collections.
Deployment
PowerShell Deployment:
Load the RemoteDesktop PowerShell Module
Import-Module RemoteDesktop
Deploy Server Roles via PowerShell
New-SessionDeployment [-ConnectionBroker] <string> [-WebAccessServer] <string> [-SessionHost] <string>
New-SessionDeployment -ConnectionBroker <Server FQDN> -WebAccessServer <Server FQDN> -SessionHost <Server FQDN>
List Servers & Server Roles installed in the RDS deployment:
The following lists all servers and Server Roles in RDS Deployment:
Get-RDServer
The following shows which roles are installed on a single server:
Get-RDServer -ConnectionBroker <Server FQDN>
GUI Deployment
Within the Server Manager, select Add Roles and Features Wizard.
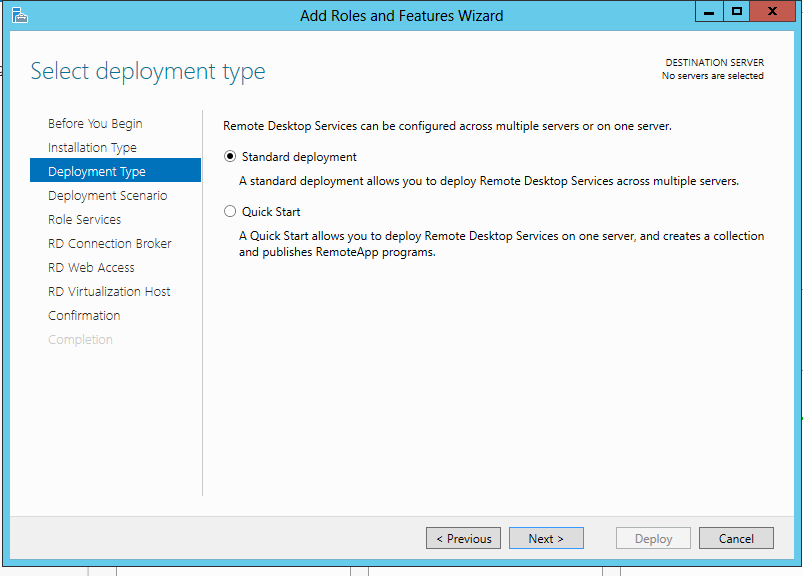
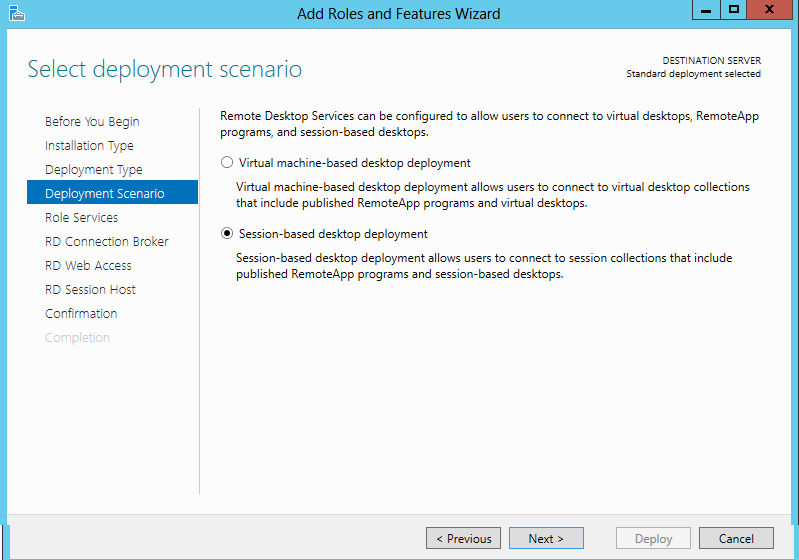
Select a session based desktop installation or a virtual machine based desktop deployment.
I have selected a Session based deployment for this demonstration.
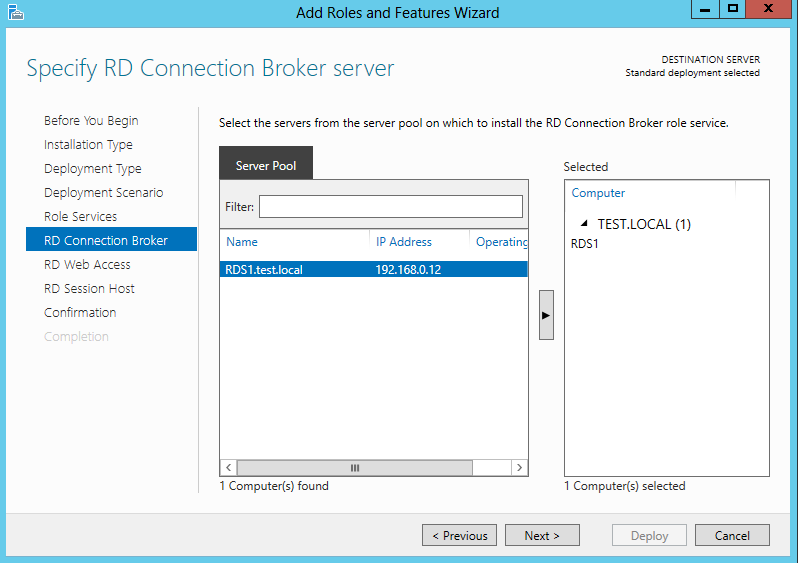
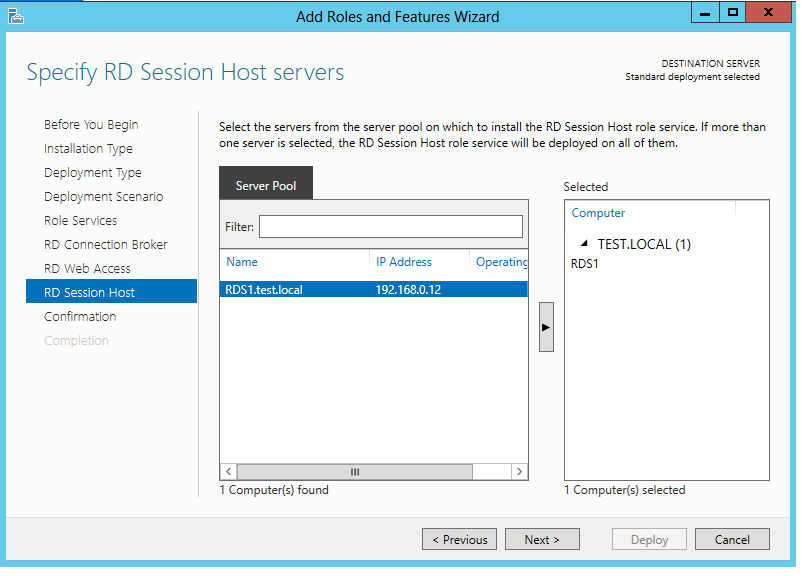
Select the servers you wish to be Connection brokers and Add the servers from the server pool.
You will need to create a server pool before adding multiple servers.
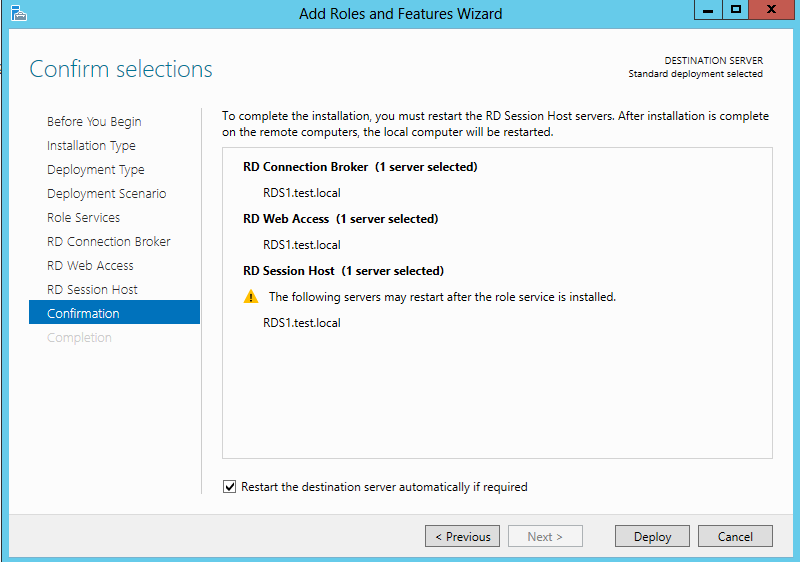
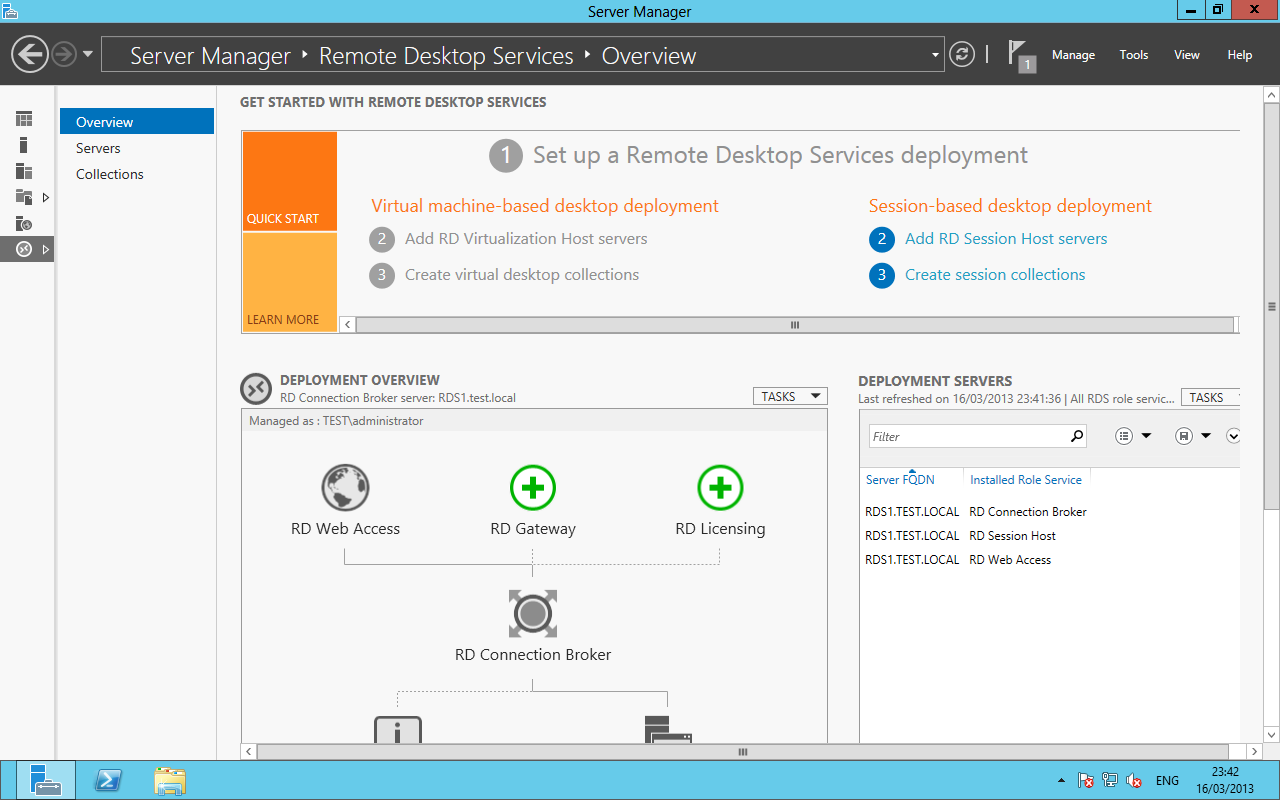
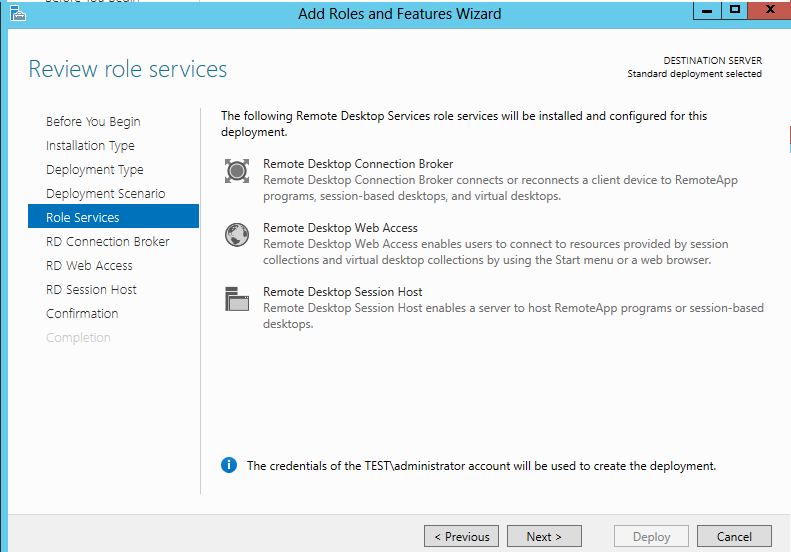
You can now see a basic RDS configuration with the following roles installed, RD connection Broker , Session Host, and RD Web Access.