A Remote Desktop Gateway Server enables users to connect to remote computers on a corporate network from any external computer. The RD Gateway uses the...
What is a Remote Desktop Gateway
A Remote Desktop Gateway Server enables users to connect to remote computers on a corporate network from any external computer. The RD Gateway uses the Remote Desktop Protocol & the HTTPS Protocol to create a secure encrypted connection.
A 2012 RD Gateway server uses port 443 (HTTPS), which provides a secure connection using a Secure Sockets Layer (SSL) tunnel.
A Remote Desktop Gateway Provides The following Benefits:
- Enables Remote Desktop Connections to a corporate network without having to set up a virtual private network (VPN).
- Enables connections to remote computers across firewalls.
- Allows you to share a network connection with other programs running on your computer. This enables you to use your ISP connection instead of your corporate network to send and receive data over a remote connection.
http://windows.microsoft.com/en-us/windows7/what-is-a-remote-desktop-gateway-server
Please see the following linkFor more information on deploying a Gateway on the perimeter network: http://blogs.msdn.com/b/rds/archive/2009/07/31/rd-gateway-deployment-in-a-perimeter-network-firewall-rules.aspx
Deploying a remote desktop Gateway
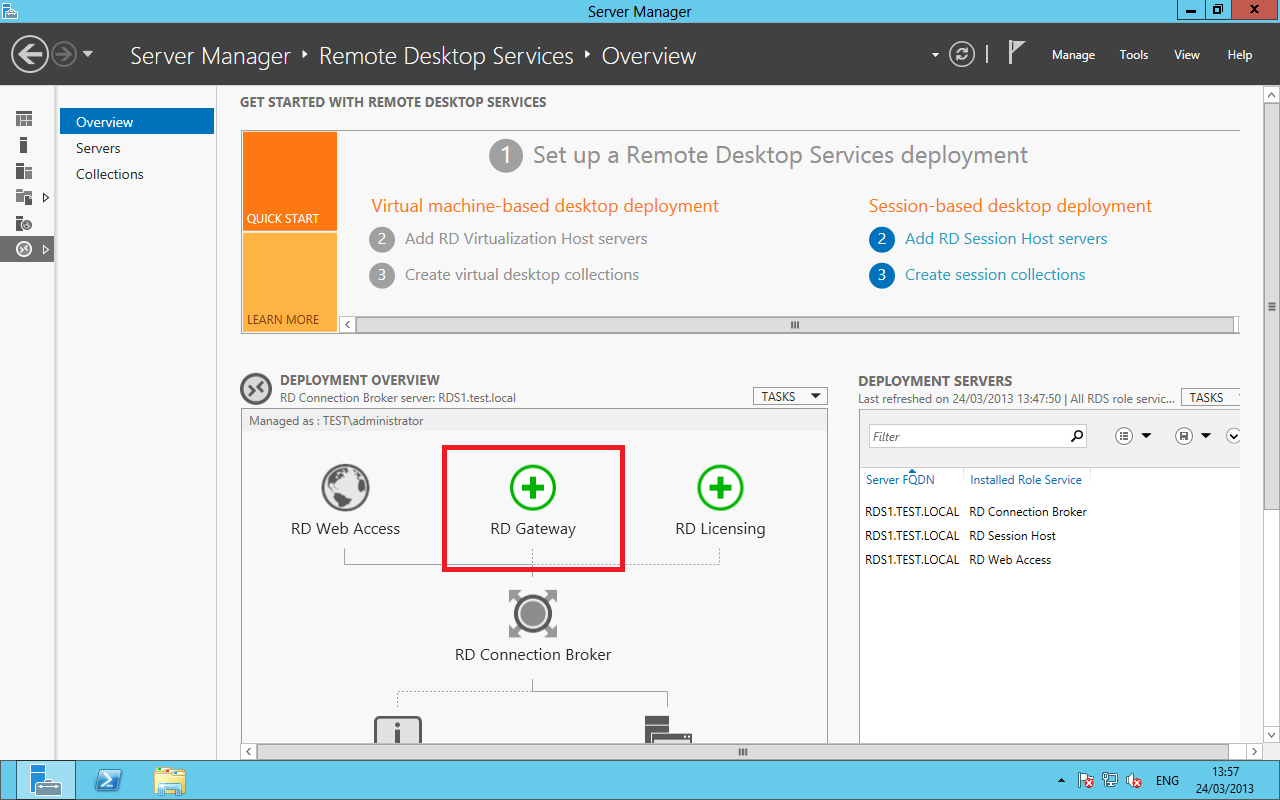
To start the install, Click on the RD Gateway Icon Highlighted in green on the Deployment Overview.
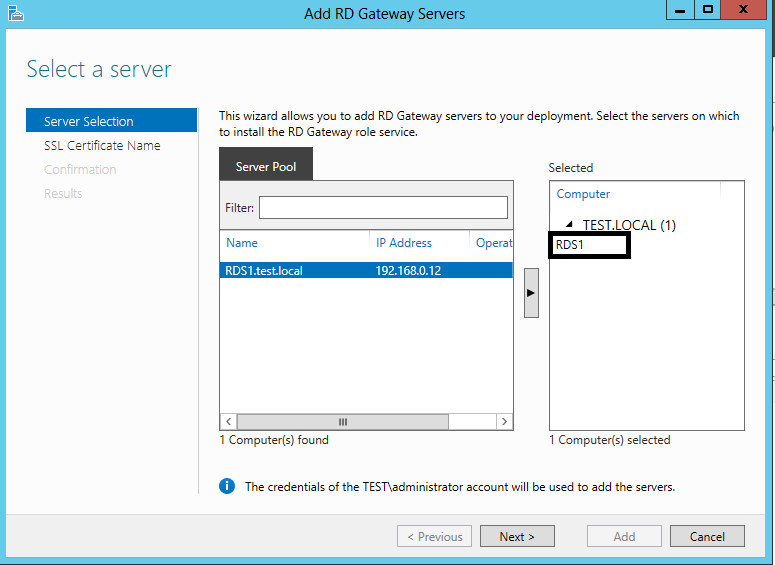
Select the server you want to install the role on.
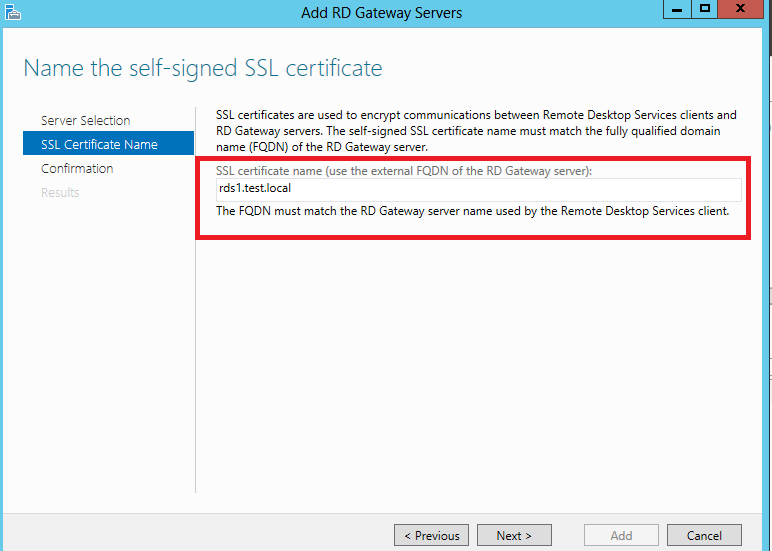
Enter the External FQDN in the SSL Certificate Name (for this example I am using a internal address)
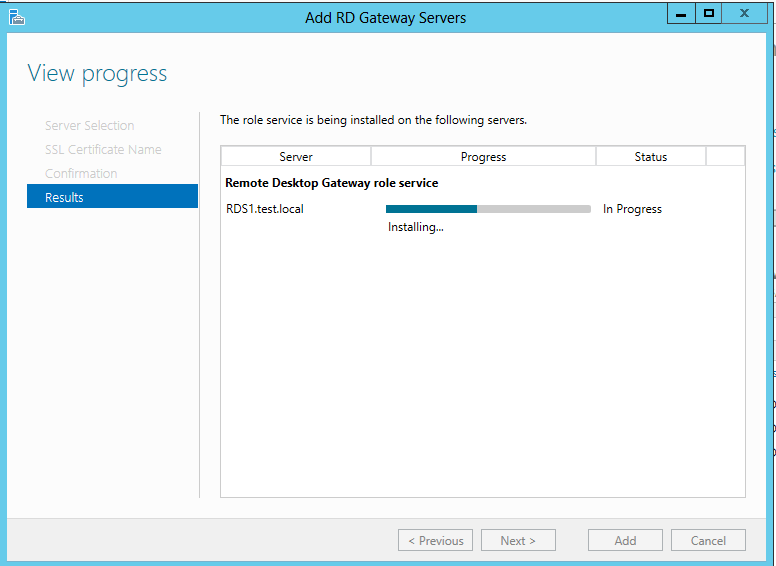
RDS Gateway is installing............
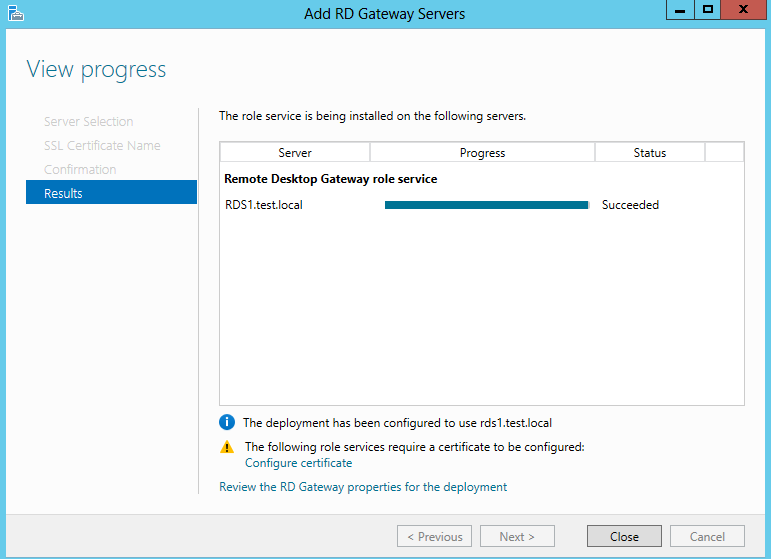
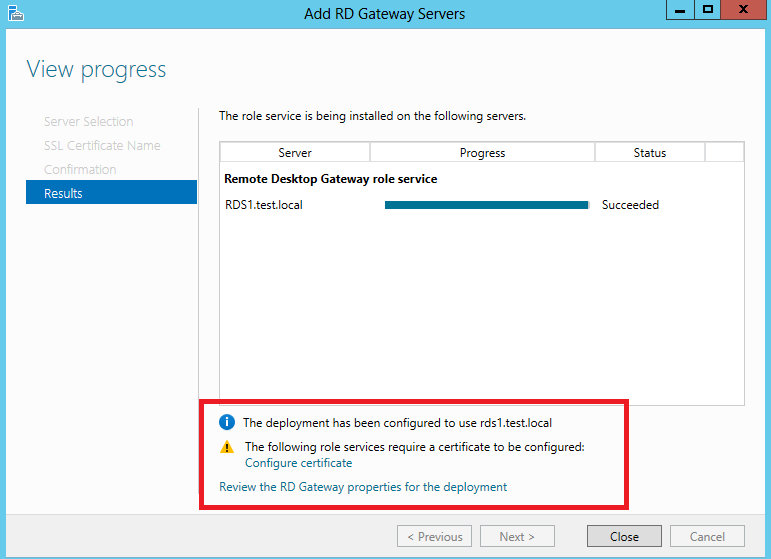
Once the install is complete, you can use the links at the bottom of the install window to configure certificates and review the RD Gateway properties for the deployment.
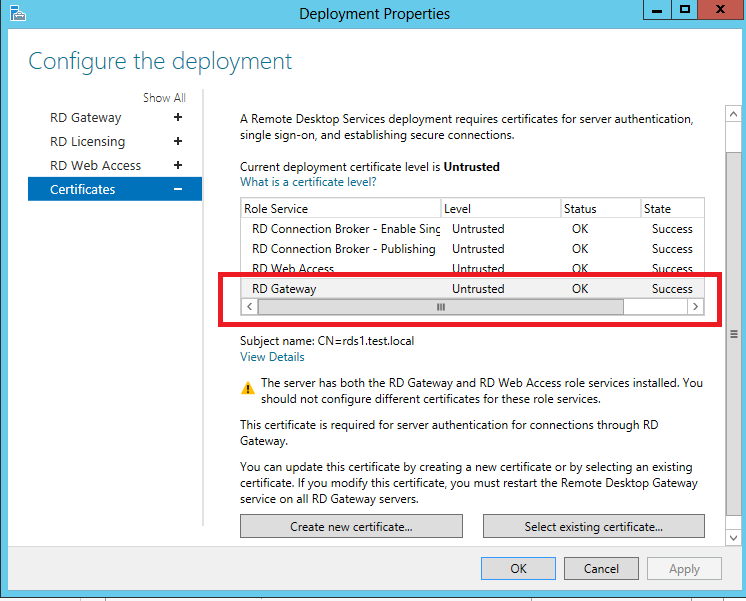
As highlighted in red, you can seen the Gateway certificate located in the deployment properties under certificates.
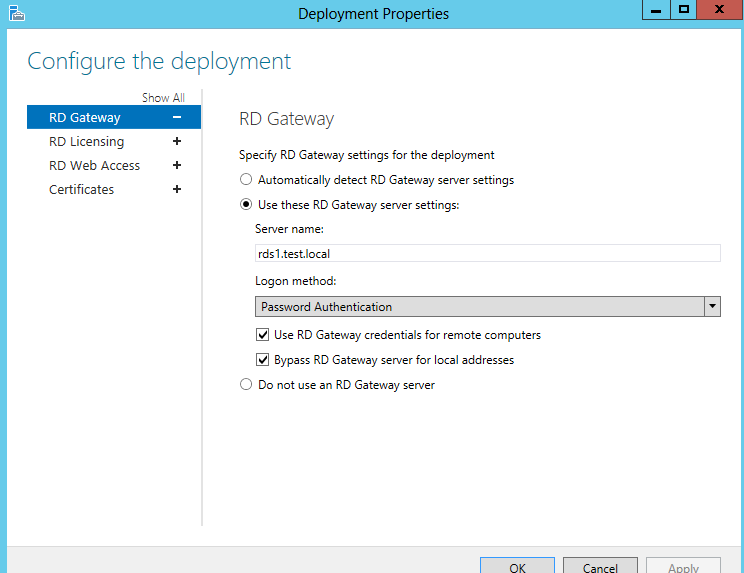
Under the Tab RD Gateway, you can configure the login method and basic gateway settings.
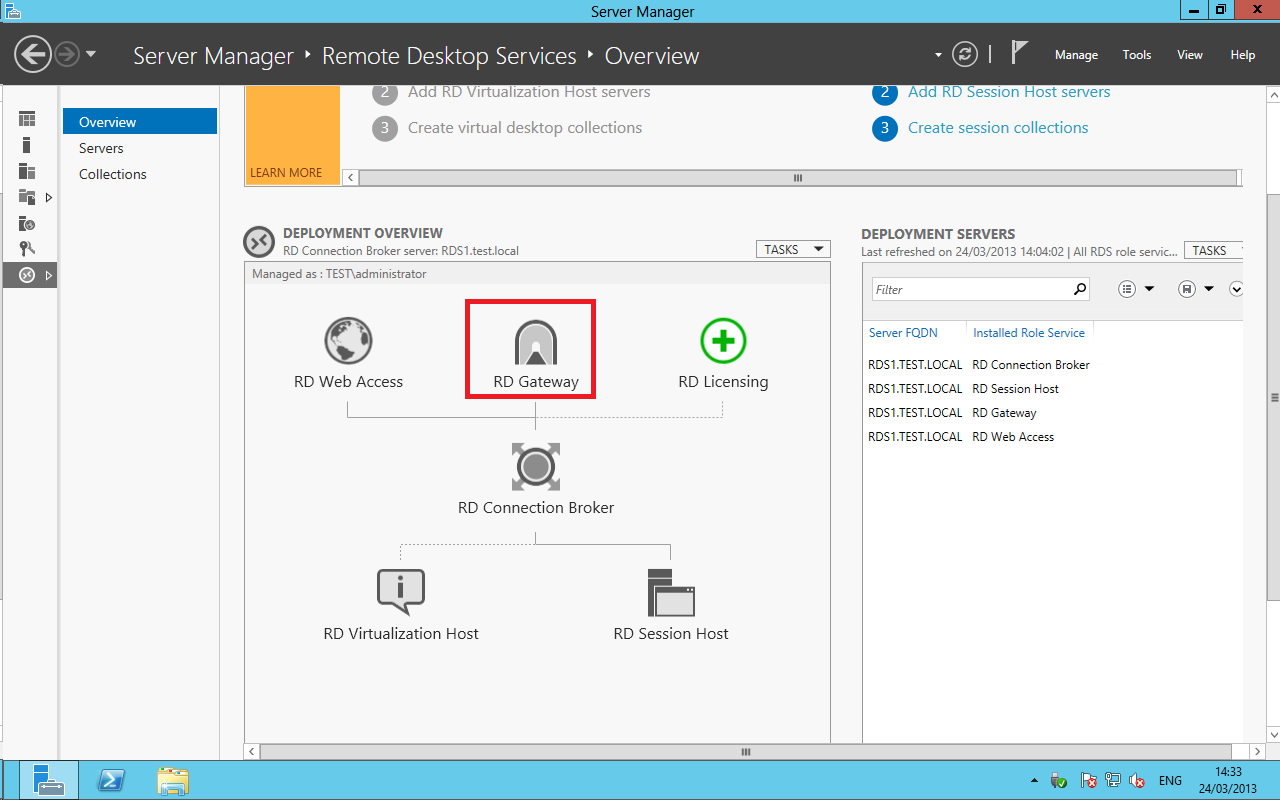
Once the gateway is installed you will see the RD Gateway symbol appear.
Configuring the Gateway Manager
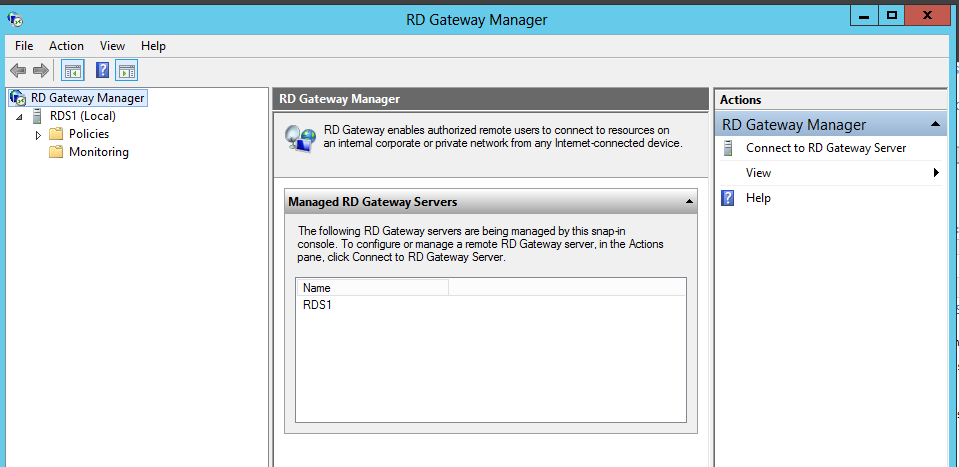
by right clicking on the local gateway server, you can open the properties.
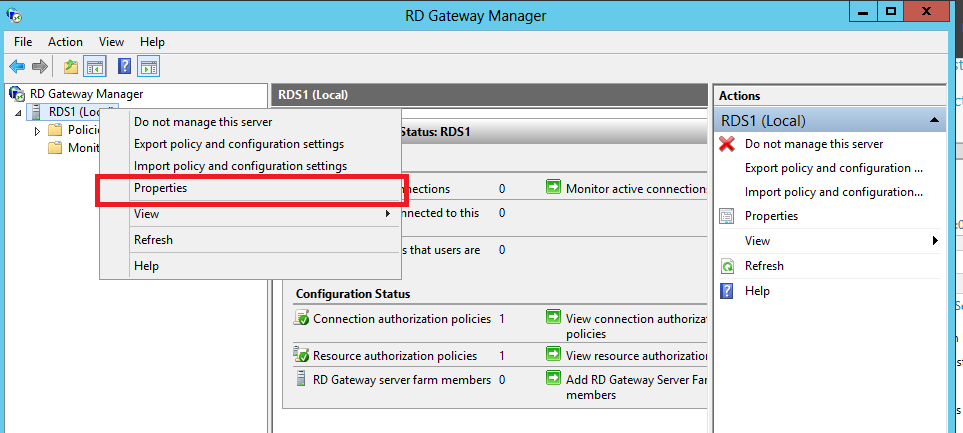
You can configure the advanced gateway settings by navigating to the Properties.
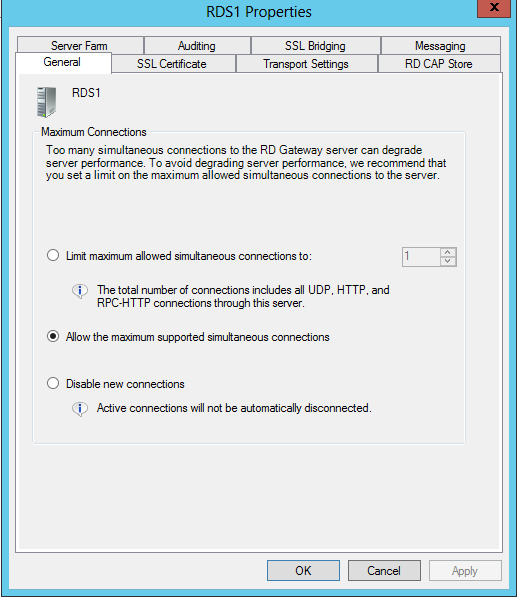
The General tab allows you to configure maximum connection.
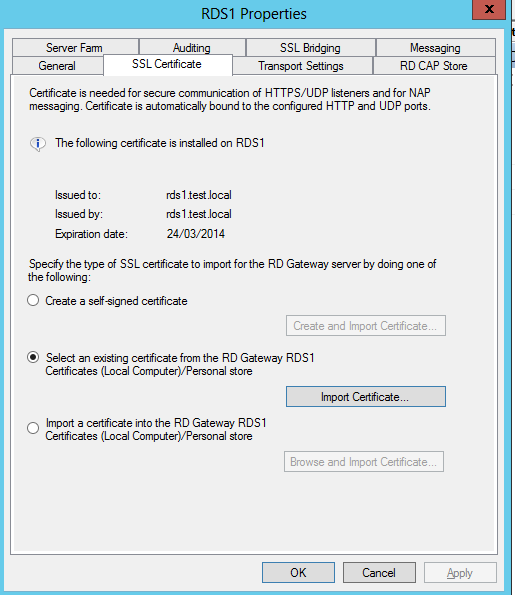
The SSL Certificate tab allows you to import a external certificate, create a self-signed and import from a personal store. I would recommend that you assign all certificates and apply the RD Gateway Certificate last. This is the certificates are not modified by the certificate tab in the RDS deployment properties.
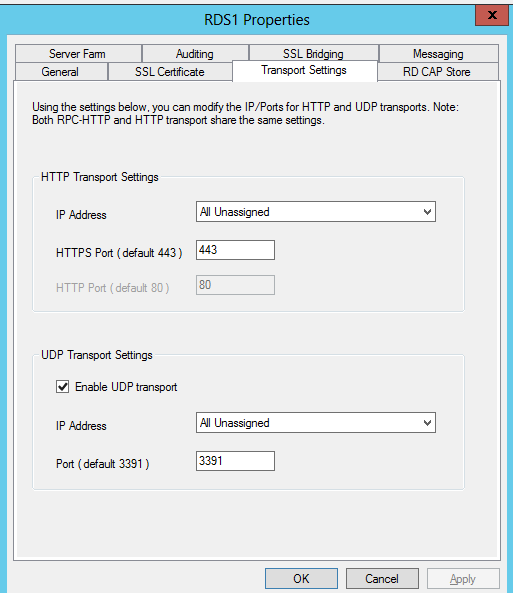
The Transport Tab allows you to configure RCP-HTTP and the HTTP settings. You can change the defaults to meet corporate security requirements.
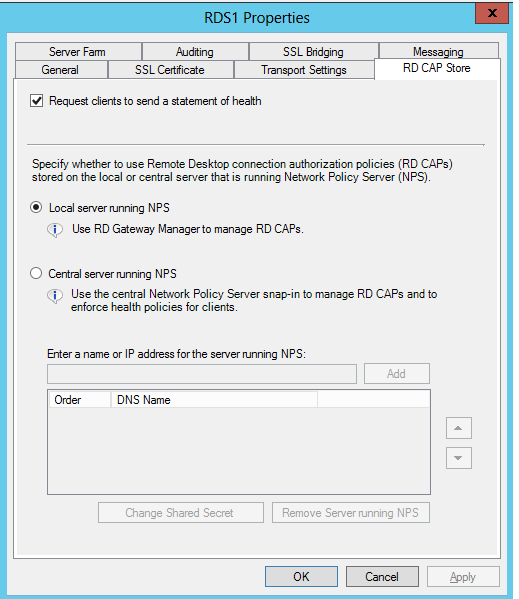
The Remote Desktop Connection Authorisation Policies (RD CAP) store enables you to configure local or central NPS Services for centralised management.
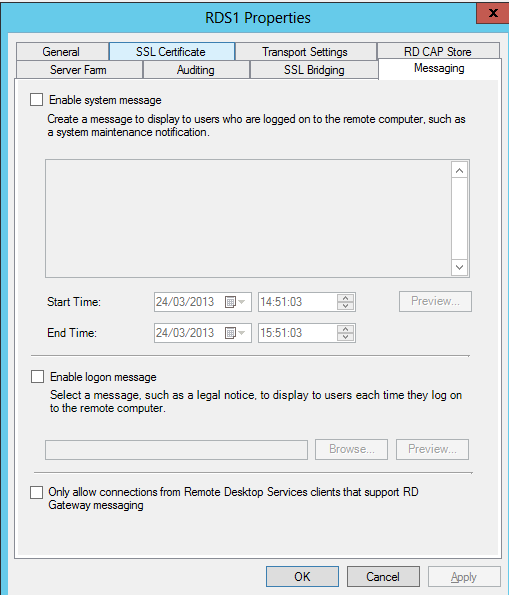
The Messaging tab is great for notifying users of outages and maintenance times or other administrator messages.
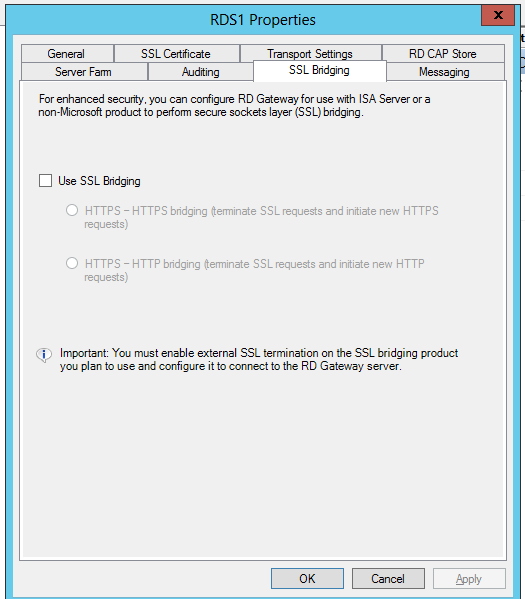
Please see the hyperlink below for information on SSL Bridging and tunnelling.
http://www.isaserver.org/tutorials/Understanding_SSL_bridging_and_tunneling_within_ISA.html
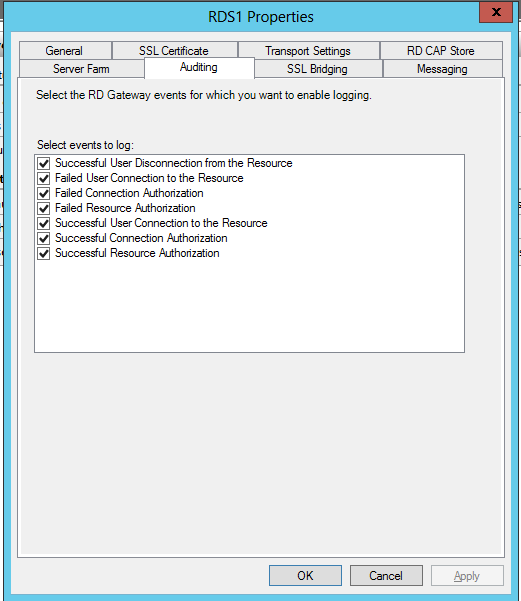
The Auditing tab allows you to select what to audit in the log files.
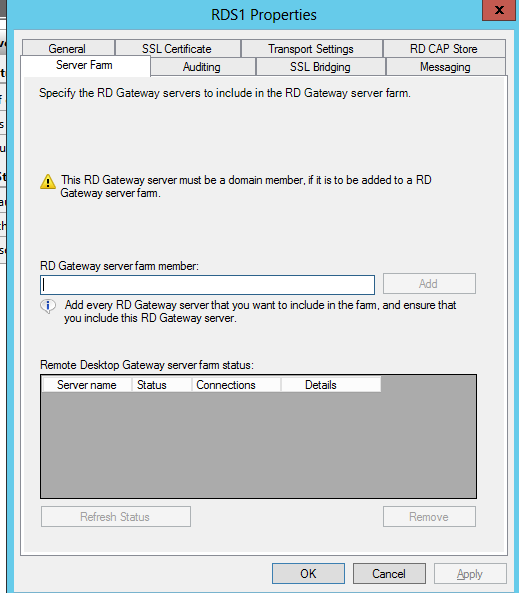
The Server Farm tab allows you to configure multiple Gateway servers for use in a farm (High Availability).
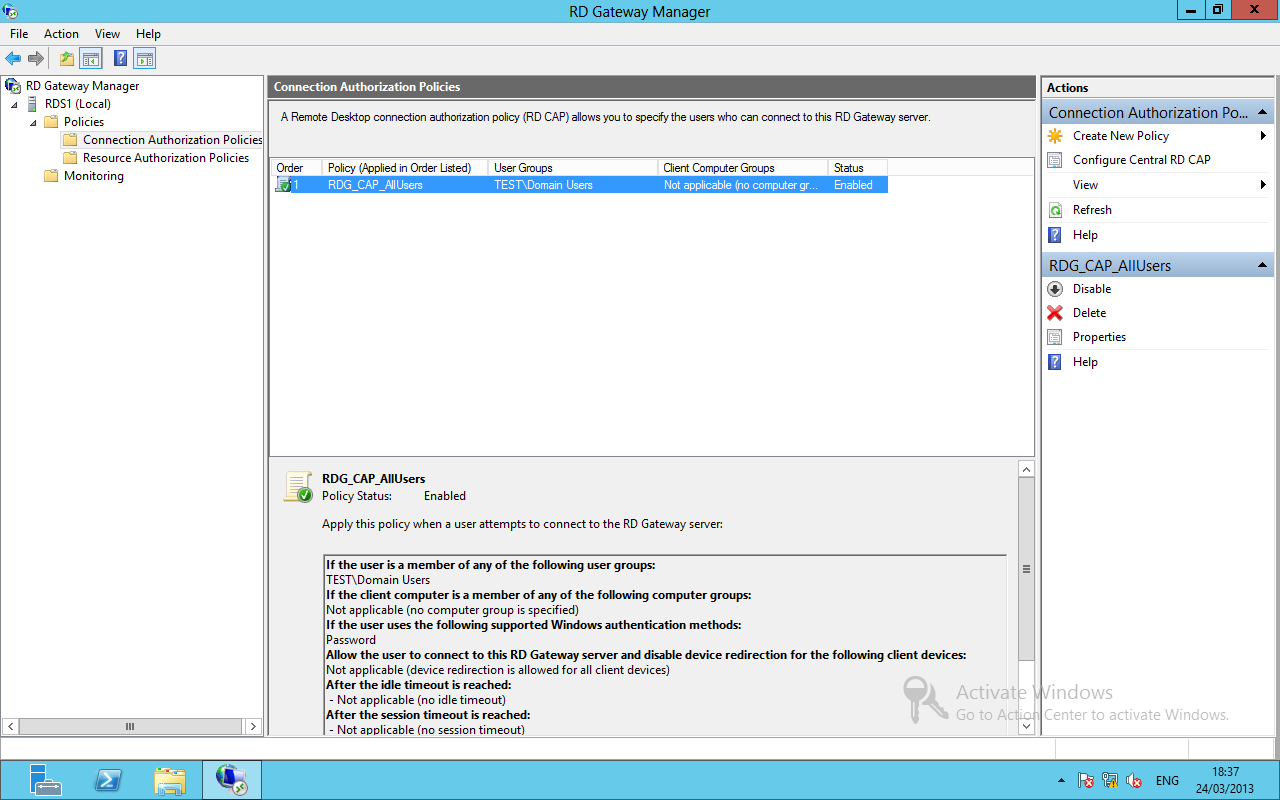
Connection Policies allow you to configure user access.
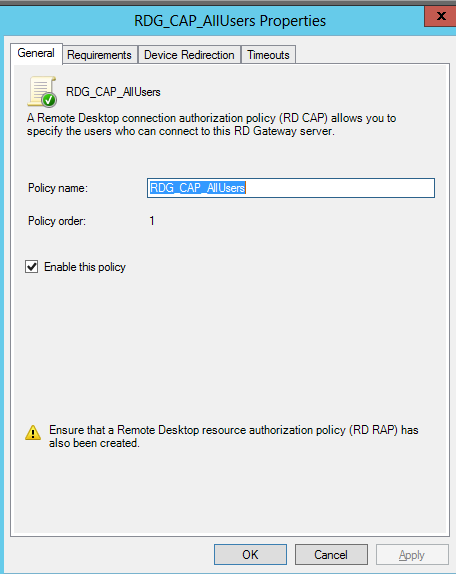
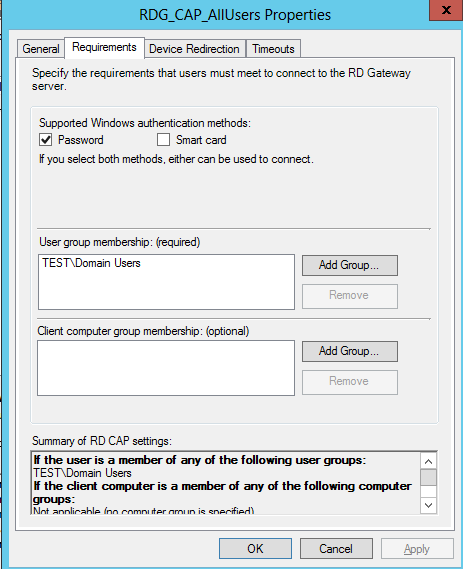
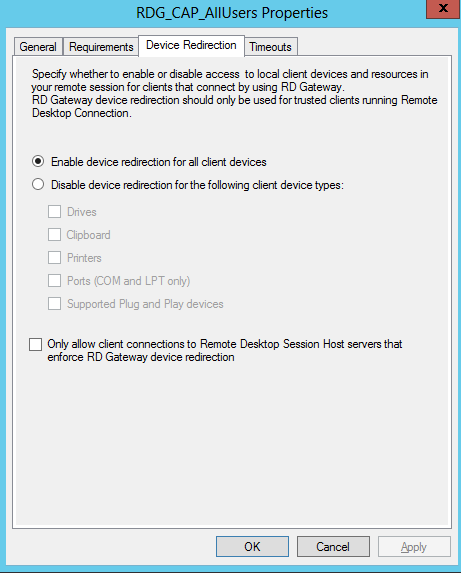
You can disable the redirection features for enhanced security.
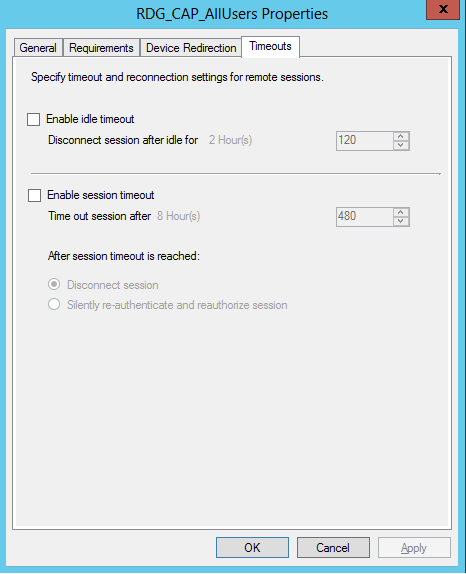
The Timeouts Tab allows you to limit client sessions.
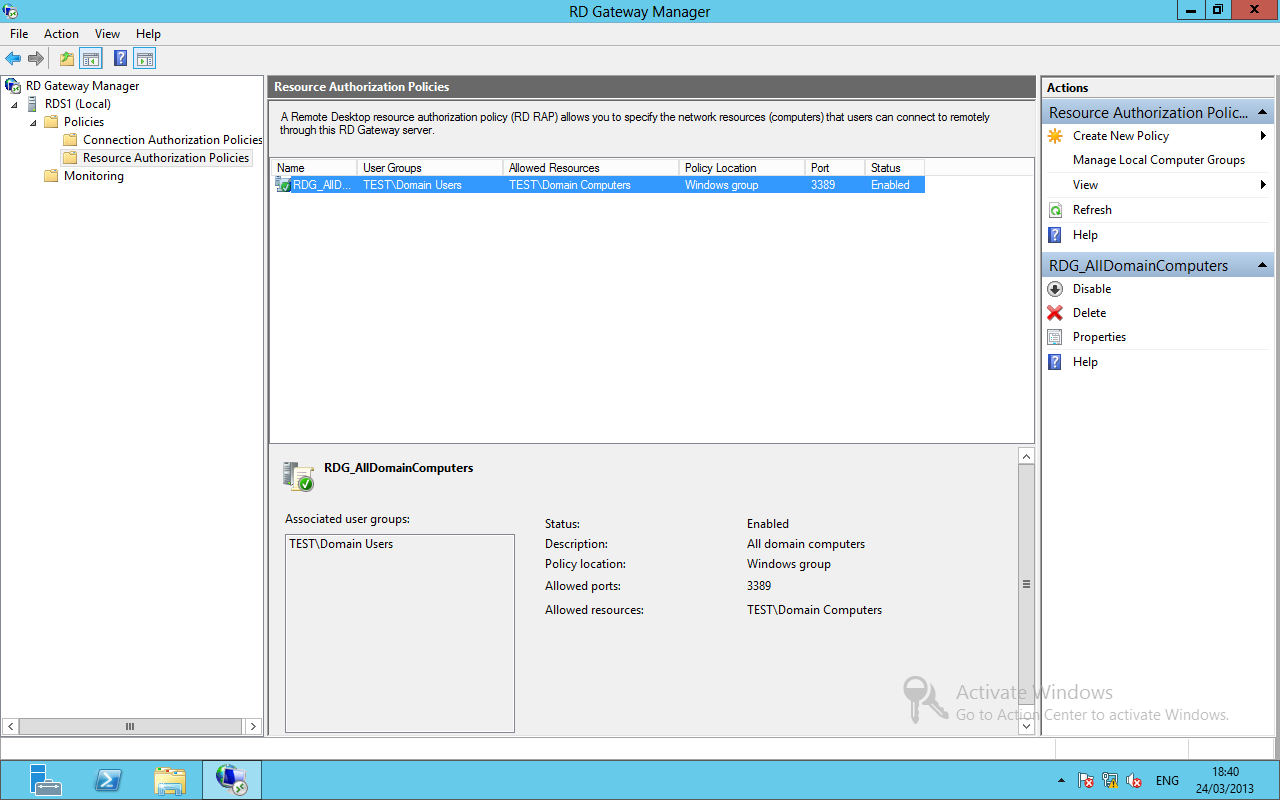
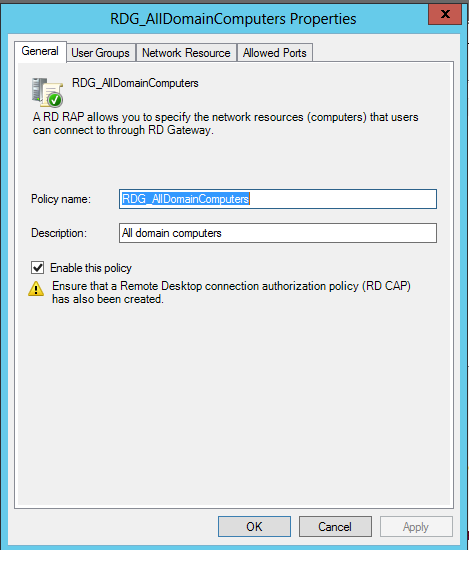
Resource authorisation Policies allow you to specify the network computers that users can connect to.
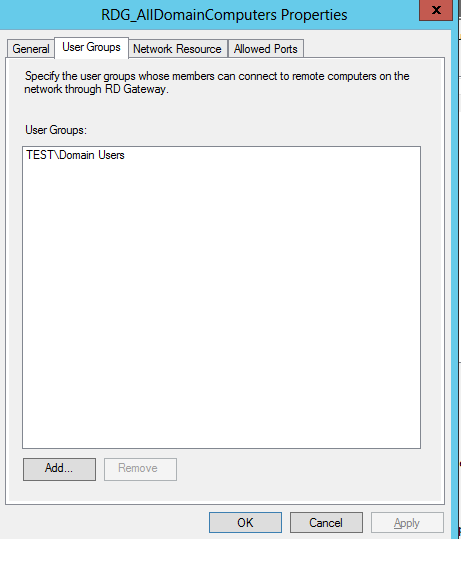
You can define user access in user groups tab.
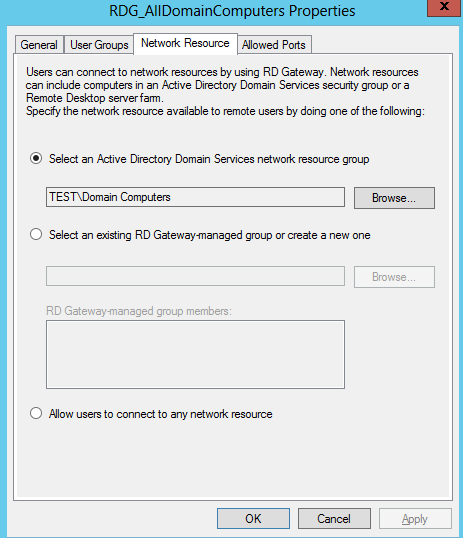
The Network Resource tab is used to specify the network resources.
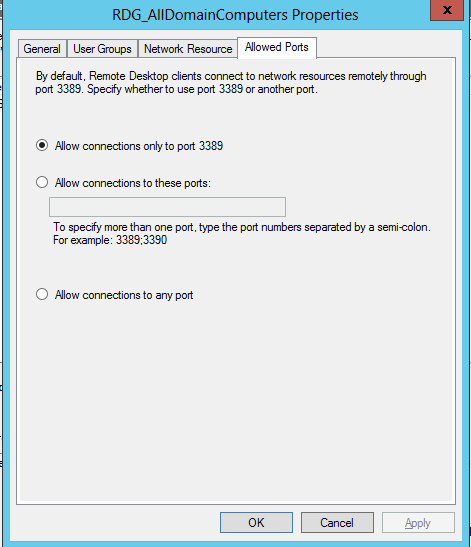
The Allowed ports Tab enables you can change the ports to enhance security.
Creating Computer Groups
when creating a High available Connection broker configuration or a Remote desktop session server Farm you need to create server groups using the manage locally stored computer groups.
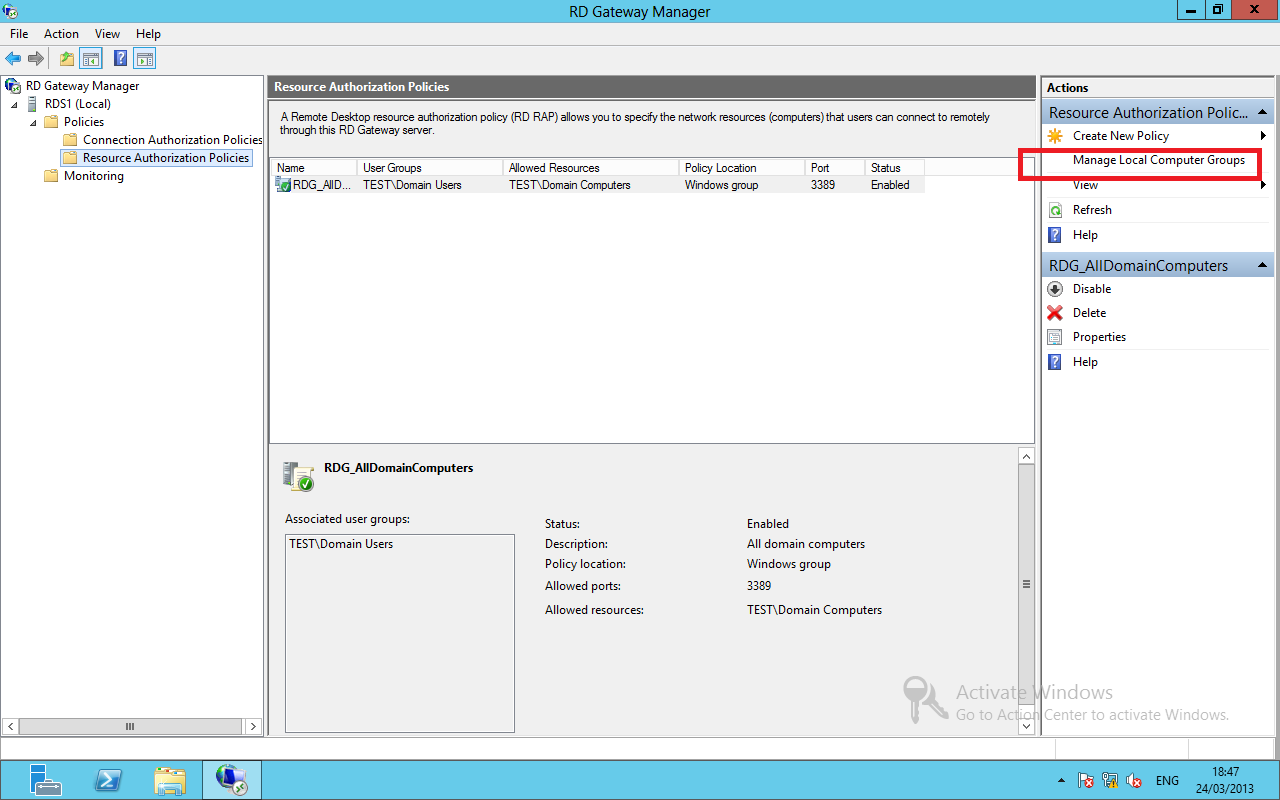
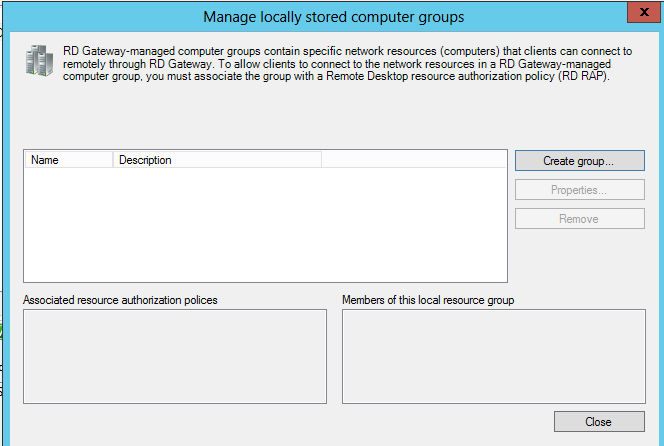
Click Create Group
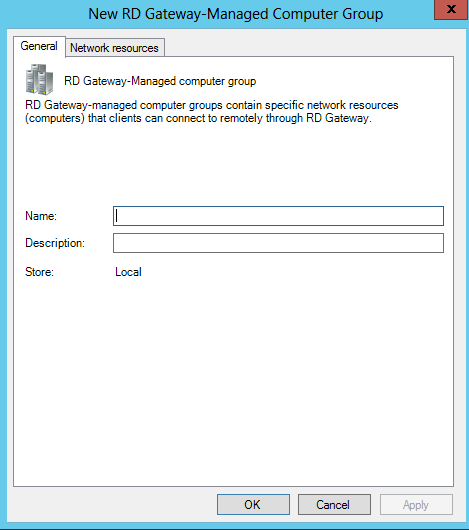
enter the name and the description of the computer group
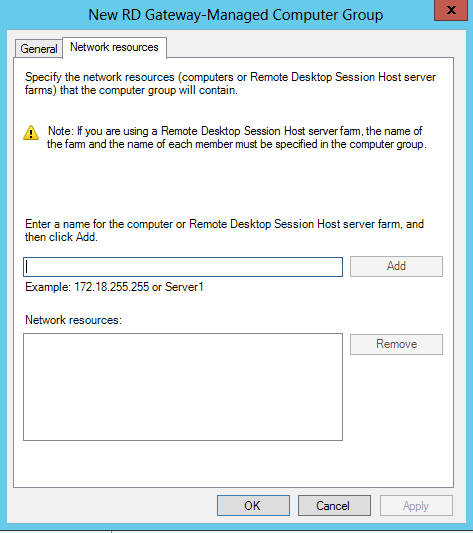
For connection brokers and RDSH servers, you need to add the servers and the farm name as mentioned in this tab.